Viso Base Module
User roles
There are five types of user accounts, each with its specific rights for setting up Viso, creating sessions or viewing them.
- Setup – To make network connections and add users.
- Technician – To add users, set up locations and manage sessions.
- Administrator – To record and manage sessions.
- Trainer – To record sessions and manage own ones.
- Trainee – To view sessions.
Login
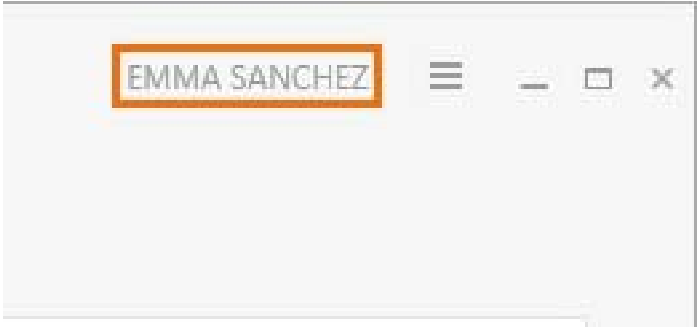
First log in in Viso with the user name and password that were given to you by the person that maintains your Viso system. Your name is shown in the top-right corner of the Viso window. Click on the name to change your password or log out.
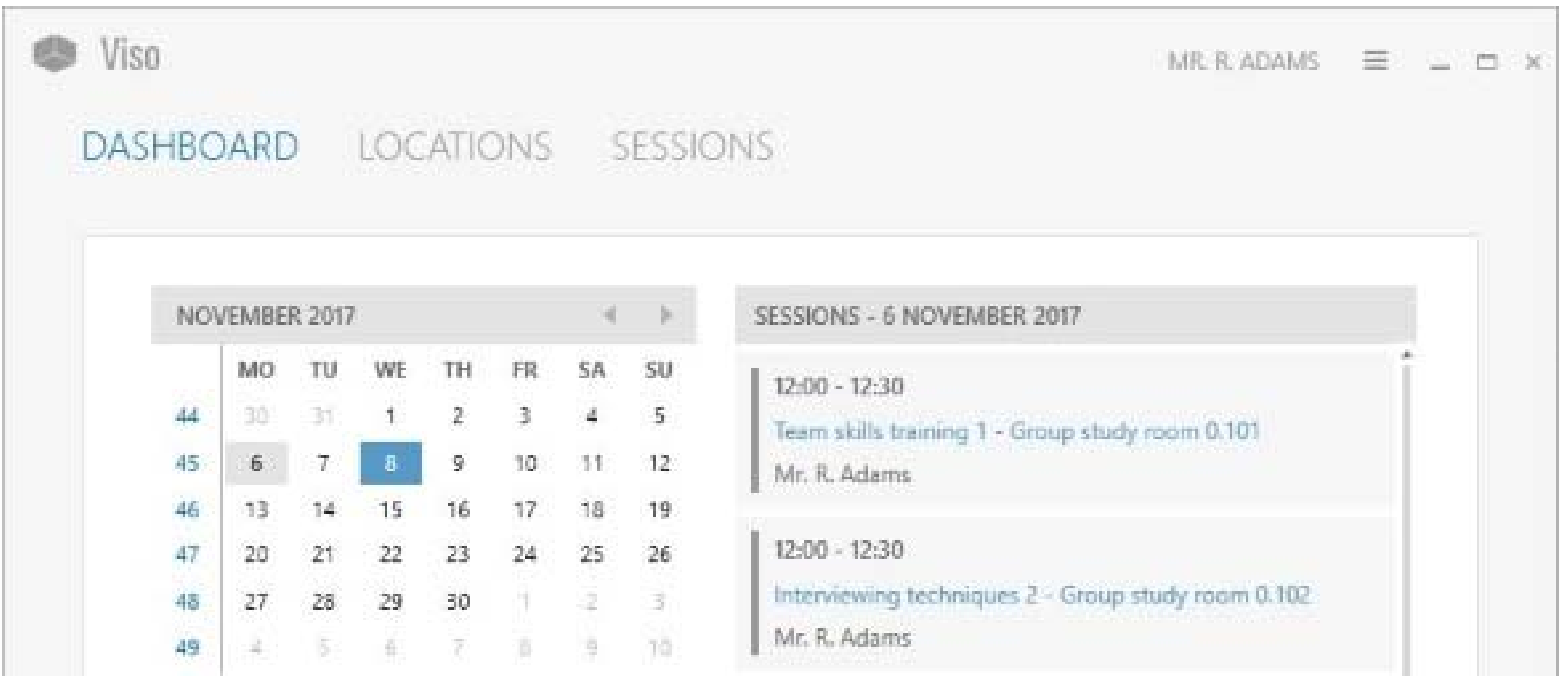
Viso opens with the dashboard which includes a calender and a sessions list. Days in bold indicate when sessions that you are allowed to view were recorded. Click on a date in the calender to view these sessions. (The picture below shows the dashboard of a Trainee.)
Prepare session recording
In the Locations tab, double-click the location in which you want to start recording.
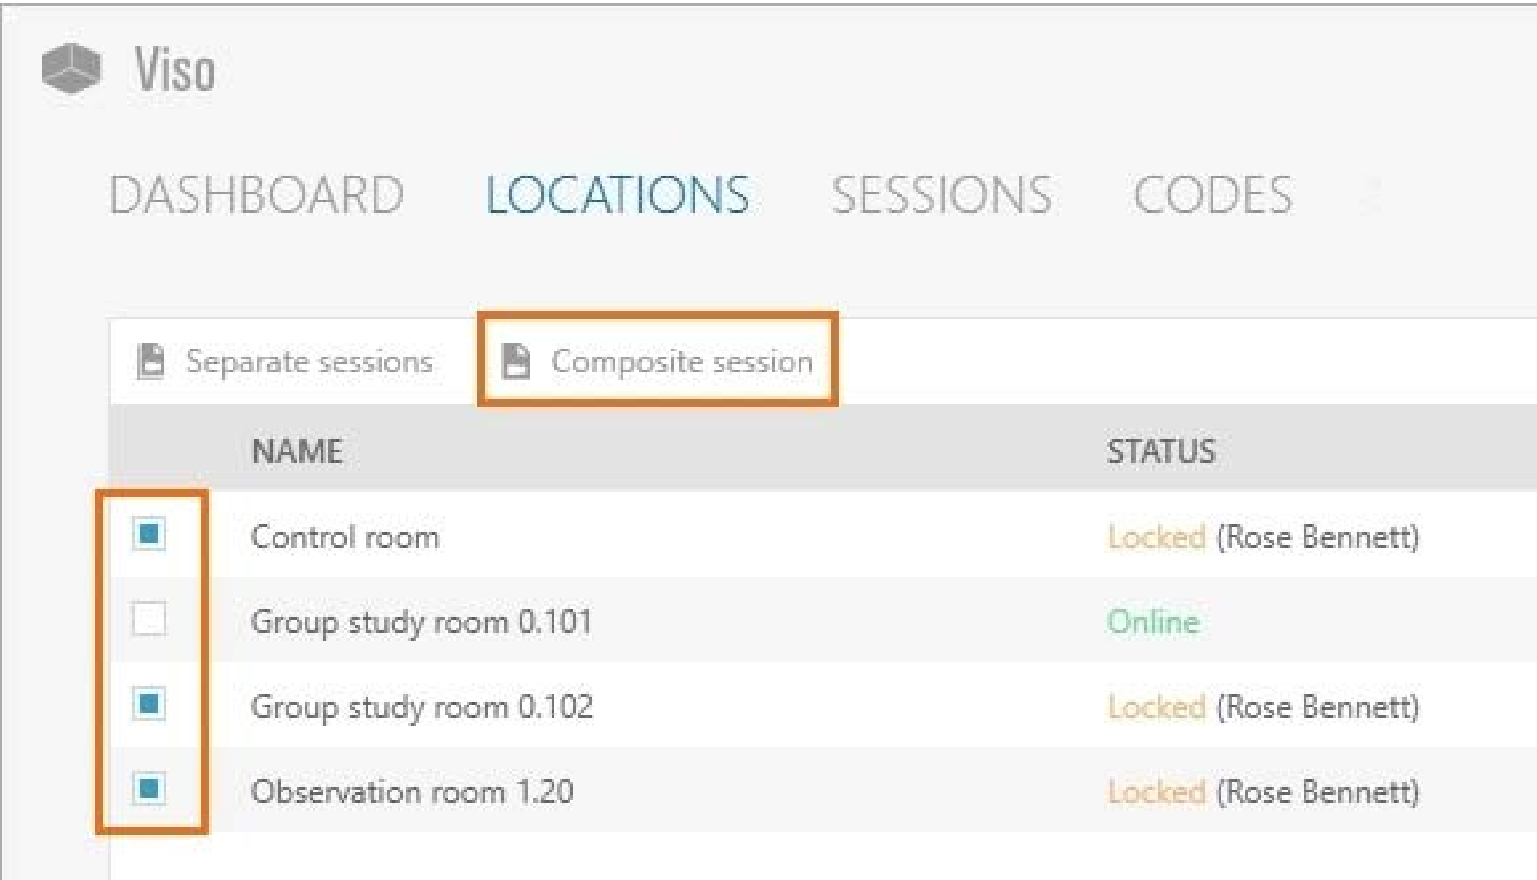
TIP The person that maintains your Viso system can enable session recording in multiple locations simultaneously. If this is the case, select the locations and choose Separate sessions to obtain one session for each location, or Composite session to obtain one session in which all locations are combined.
To position the camera
This option is available for Axis cameras that can Pan, Tilt, and Zoom.
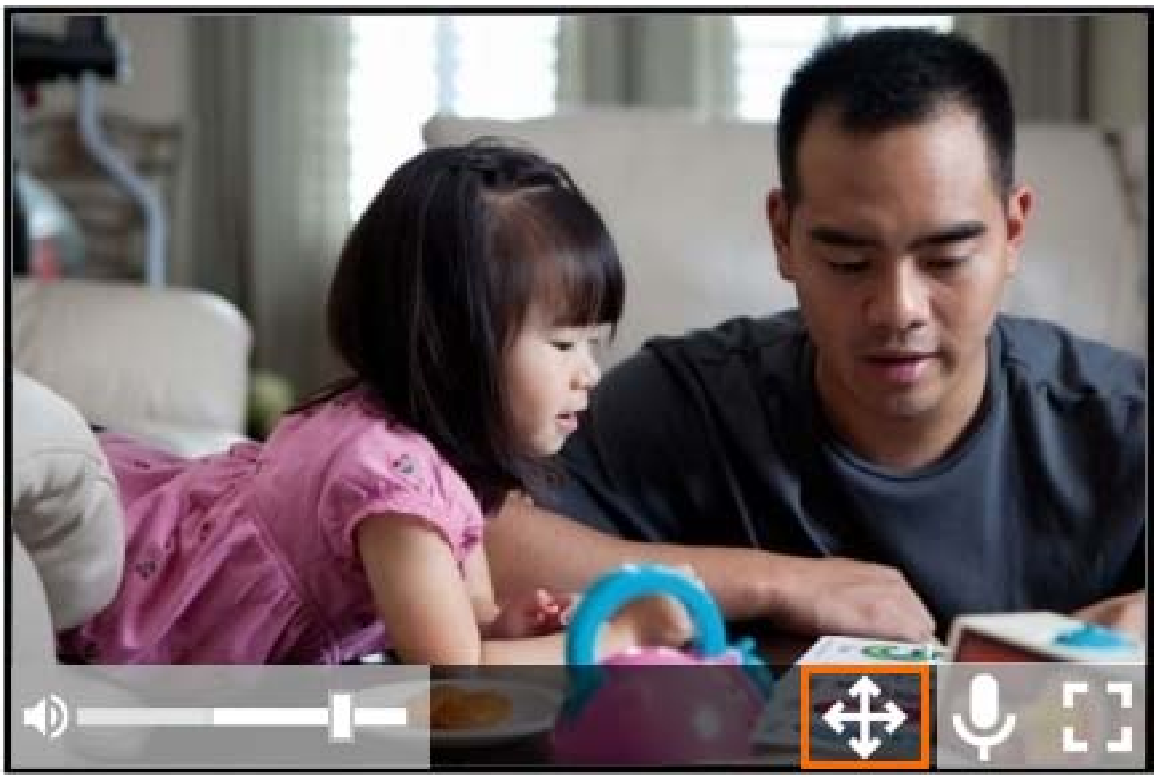
- Hover with your mouse over the camera image. In the toolbar that appears, click on the four-arrow button to enable PTZ-control.
- Click on the camera image and keep your left mouse button pressed to control the camera position.
To adjust your video window layout
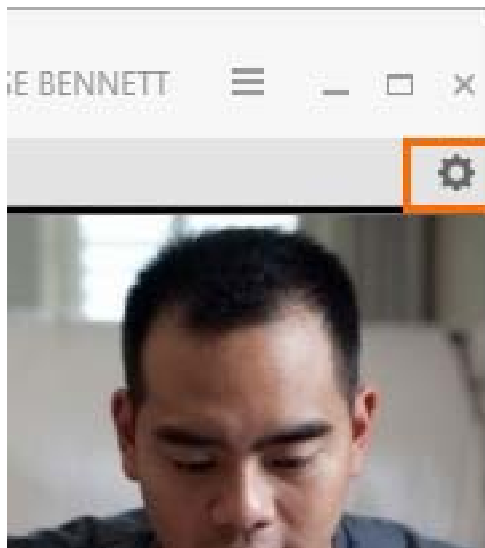
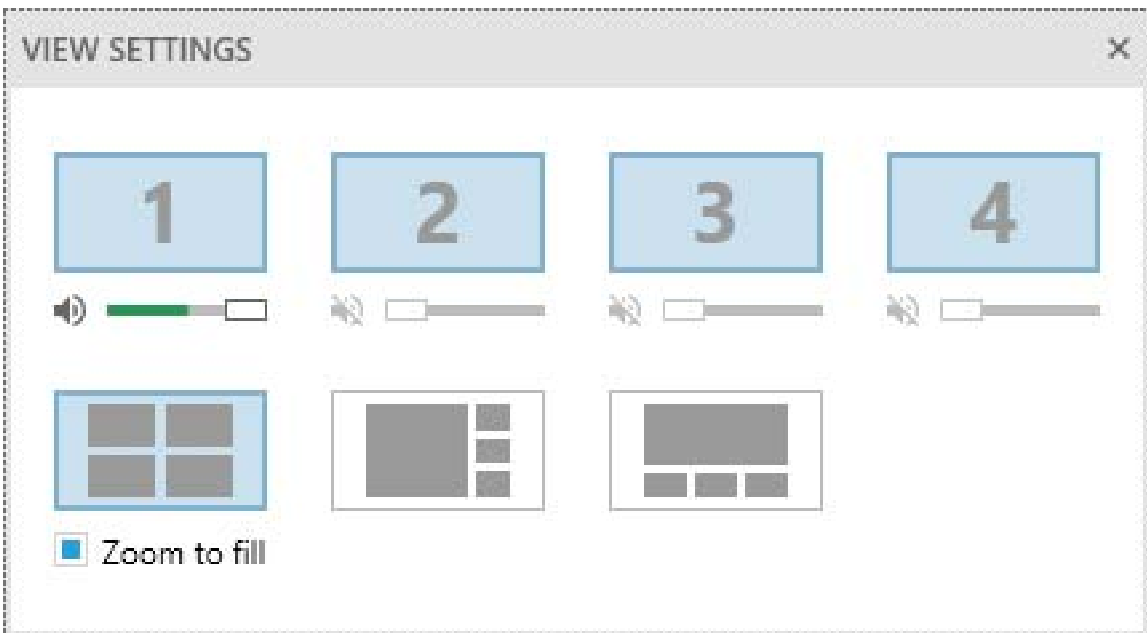
- Click on the settings button to open the Video settings window.
- Select the video layout you want to use. Click Zoom to fill to maximize the video windows. Click on a video to hide it.
The changes affect the preview only. They do not affect the video recordings.
To control the audio volume in the preview
See the pictures in To adjust your video window layout.
- Click on the settings button to open the Video settings window.
- Move the sliders to control the audio volume in the preview. Click on a speaker icon to mute the audio of this video stream in the preview.
The changes affect the audio in the preview only. They do not affect audio of the recordings.
To talk to the people in a location
Use the push-to-talk option to speak to the test participants in the location through the camera speaker. Ask the person that maintains your Viso system if this option is available for your cameras.
- Hover over a camera image and click-and-hold the microphone button. Keep the button pressed while you talk.
To invite other users for the session
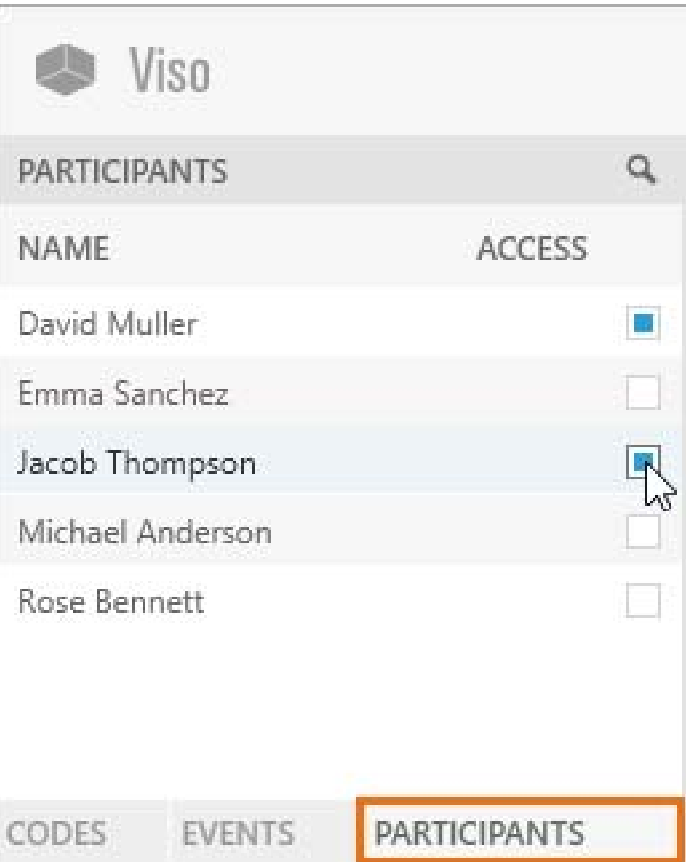
- Open the Participants pane at the bottom-left of your window.
- Select the participants.
The invited participant receives an invitation message with which the session can be opened. The session is also listed in the dashboard of the invited participant. An invited participant can view a session live, and review it afterwards.
Record a session
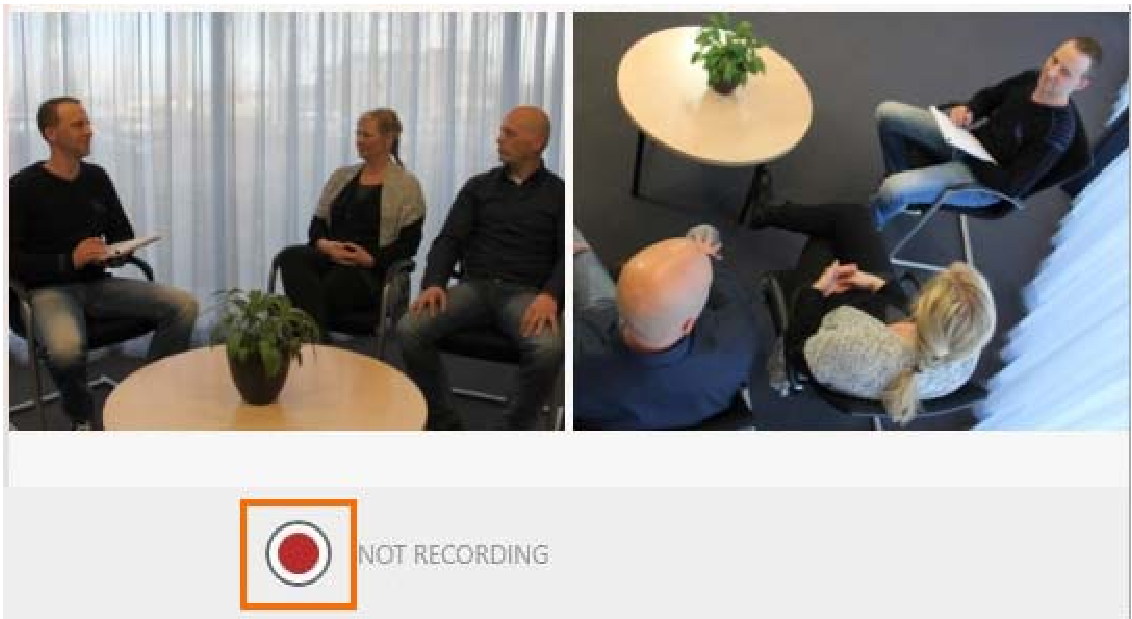
- To start recording, click on the red button.
- To start a recording in another location, choose Back to return to the Locations tab. Open another location and start recording.
- To stop recording at the end of a session, open the location if it is not already open, and click on the stop recording button. Only the user that created the session can stop recording.
- If you started recording in other locations as well, also stop these recordings.
You can also start and stop recording with the Viso Web App. Ask your colleague who maintains the Viso set-up for the
website address. Log in and use your smartphone or tablet to start and stop recording.
Review sessions
- In the Dashboard, click on a date in the calender to view the sessions that you recorded or received an invitation for.
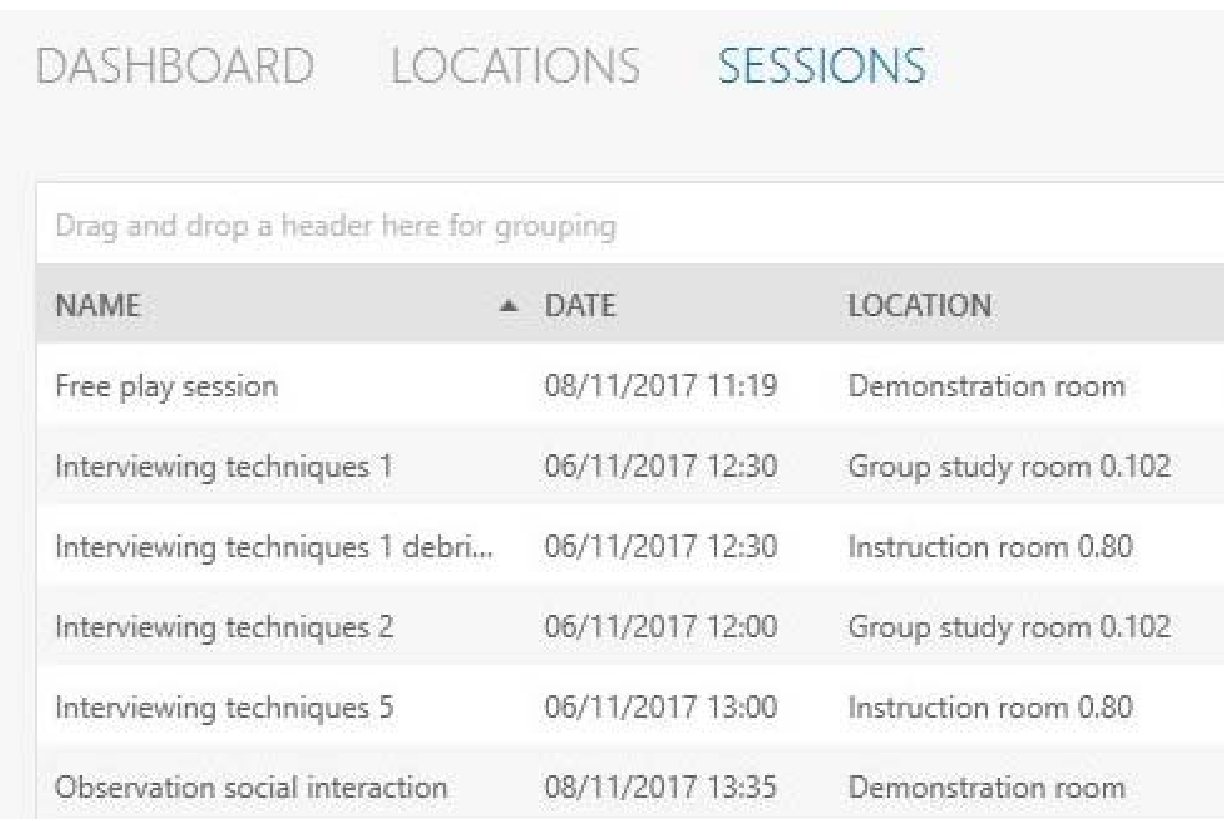
For the complete list of the sessions that you are allowed to view, open the Sessions tab.
- To open a session, double-click it.
- Optionally, invite others to review the recorded session.
- Play the session to debrief it.
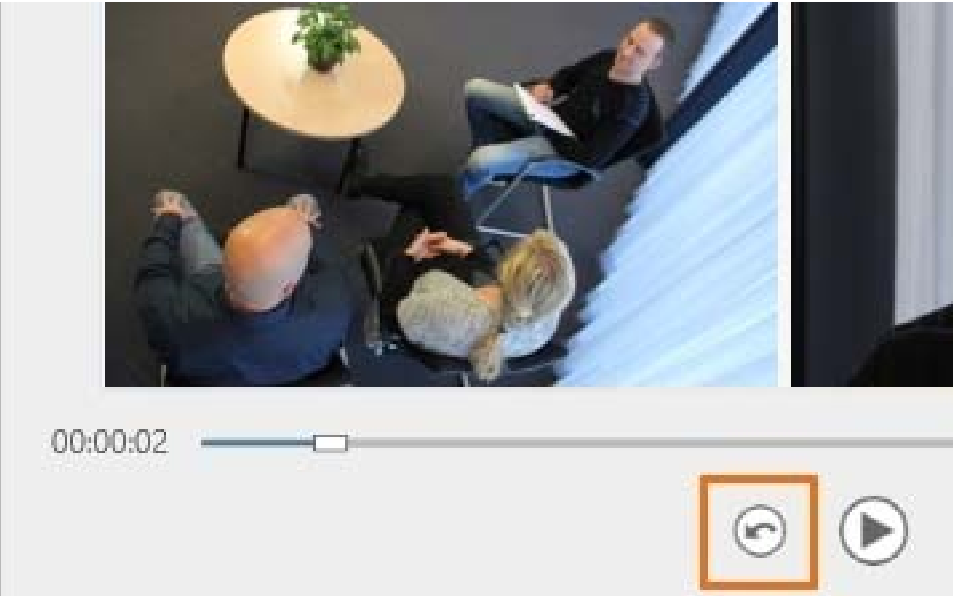
- To replay the last five seconds, click on the Quick Review button. Click multiple times to replay a longer episode.
NOTE To sort sessions, click on a column header. To group sessions, for example by location, drag and drop a header to the top of the table.
NOTE To rename sessions, or to delete them after debriefing, open the Sessions tab, right-click the session and select the option you require.


No Comments