Sessions
Record sessions
aim
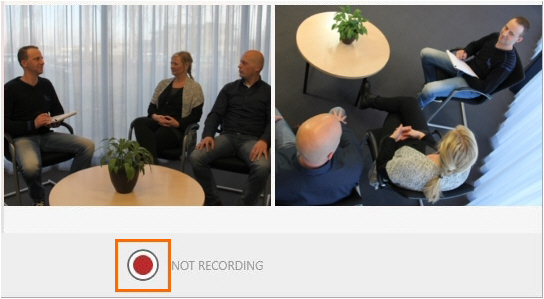
To create recordings with all cameras in the selected locations.
Important
Do not log in with a browser to a camera, while recording with Viso. This may lead to malfunctioning of the Viso system.
prerequisites
- Your user role allows session recording (Technician, Administrator, or Trainer).
- You have opened a location.
See Select locations for recording - You are satisfied with all settings.
See the third chapter of this Reference (Prepare session recording)
procedure
- If your license includes the The Annotation Module, optionally select a Codes list.
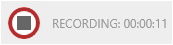
- Click the record button at the bottom of your window.
Next to the button the text Recording appears and the recording duration is shown.
TIP It is also possible to View locations and start and stop recording with a web browser. See the The Viso Web App.
- Optionally, score events and make remarks (If you have The Annotation Module)
- Optionally, talk to the people in the location with the Talk to people in location functionality.
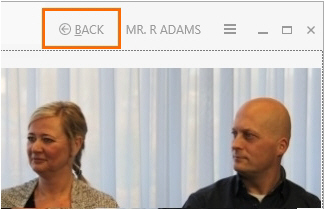
- To start recording in other locations, click the Back button at the top of the window to return to the Viso start window. Repeat the steps above to start recording in other locations.

-
To stop recording, open the location if it is not already open.
Then click the stop recording button.
note If you selected multiple locations for separate or composite session recording, pressing the stop recording button in one location, stops recording in all locations. - A question appears whether you want to stop the session. Click Yes. The following steps depend on whether you recorded a single session, selected multiple locations for separate sessions, or selected multiple locations for a composite session.


If you recorded a single session
- If you did not specify a default session name, a Save session window appears. Enter a name and click Save session.
- If you specified a default session name, the session automatically gets this name followed by a consecutive number.
- If you selected the option to edit the default session name before saving, each session automatically gets the same default name. Optionally, edit this name before you save it.
See also Specify a default session name
If you started recording in multiple locations manually
You must stop recording in each location separately. After stopping a session, click the back button on the toolbar and open the next location to stop recording there.
See If you recorded a single session how session naming is done.
If you selected multiple locations for separate session recording
- If you did not specify a default session name, a Save session window appears once. Enter a name and click Save session. Each session gets the same name.
- If you specified a default session name, each session automatically gets this name followed by the same consecutive number.
- If you selected the option to edit the default session name before saving, each session automatically gets the same default name. Optionally, edit this name before you save.
See Select multiple locations to record separate sessions for each location
If you selected multiple locations for a composite session recording
The result of your recording is a single session. See If you recorded a single session how session naming is done.
See Select multiple locations to record a composite session
Notes
- Session recording can only be stopped by the user that started the recording, or by a Technician.
- You can also View locations and start and stop recording with a web browser. See The Viso Web App,
- Recording stops automatically if the computer that stores the video files runs out of disc space. This is shown in the session name. Contact your colleague who manages the Viso set-up if this happens.
- If you log out while a session is recorded, recording continues, even if you shut down the computer with Viso. Log in again to stop the recording.
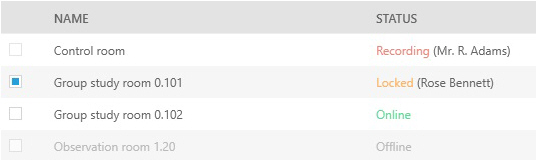
- The Status column in the Locations tab shows in which locations recording takes place by which user. Locations that are locked or in which recording takes place can be opened and viewed by others if they have the rights to. However, session recording is disabled for those users. Locations that are offline are not selected for recording by your colleague who has the user role Technician.
TIP Click one of the column headers to sort the locations by name or status, for example to list all locations in which recording takes place in the first lines of the table.
- There can be multiple sessions with the same name. Sessions with the same name can be distinguished in the sessions list by the recording date and time.
See Review sessions
Review sessions
aim
To play back recorded sessions. If your license includes the Annotation Module you can also play back the scored markers and events.
prerequisites
You either have rights to review the session (Technician, Administrator), you created the session (Trainer), you have received ownership or annotator rights or you are invited to view the session.
procedure
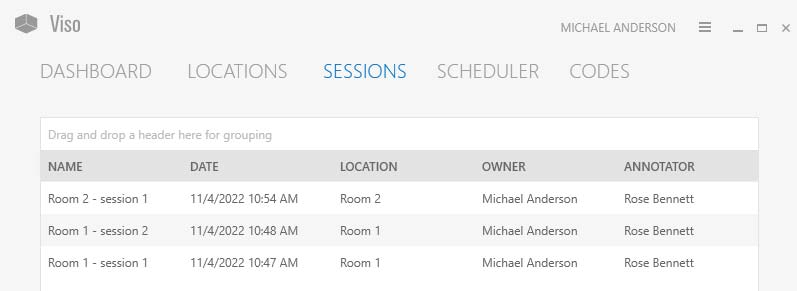
- Open the Sessions tab for a list of all the sessions.

-
Double-click a row to open a session.
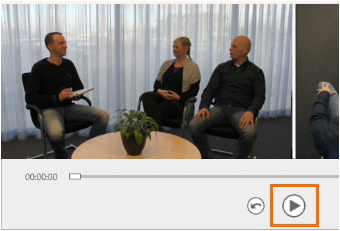
-
Click the play button to play it back.

To review an event
If you want to play back a specific event, set a pre-roll interval to start playing a few seconds prior to the event.
By default the pre-roll interval is set to 5 seconds. The maximum duration you can set is 15 seconds. If you do not want to have a pre-roll, set the value to 0.
To review a composite session
If your session consists of multiple locations, use the carousel control to view the different locations.
See To open locations with the carousel control

The Timeline shows when a location change takes place.

Use the carousel to view the video in the next location, for instance when following a participant from one room to another.
To change the video layout
Optionally, change the video layout in the same way as with recording sessions.
See Video layout
To change the audio
Optionally, change the playback audio in the same way as with recording sessions.
See Change Audio source and volume in preview
To review the last time fragment
Click the quick review button to let the video jump back and replay the episode. Click it multiple times to replay a longer episode.

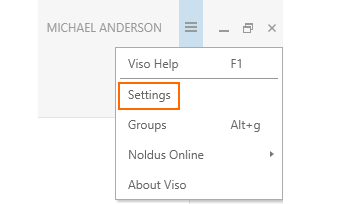
By default, the video jumps back five seconds. To select another time interval, click the Menu button at the top of the Viso window and choose Settings > Playback settings. Next, specify the interval. You can also control here if you want to pause after quick review or continue the playback.
Session sorting options
Click one of the column headers to sort the sessions, by name, date, location, the person that owns the session or the person that has been assigned as the annotator.
To group sessions, for example by the user that created them, drag that column header (Created by in this example) to the top of the table.
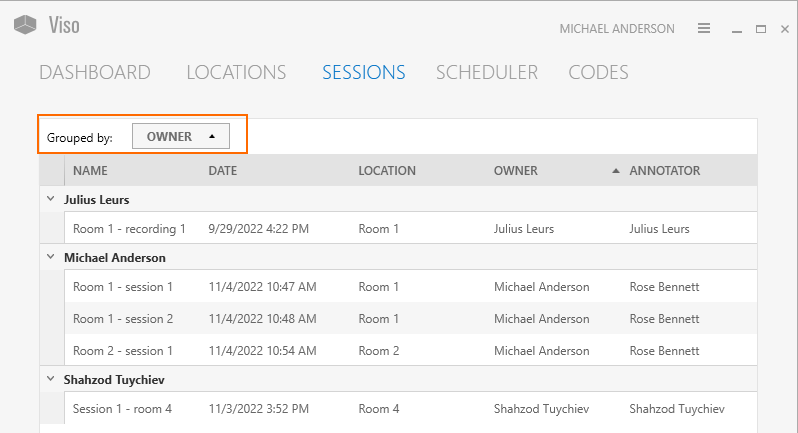
Unfold a group to see the individual sessions. Click the red cross to remove grouping.
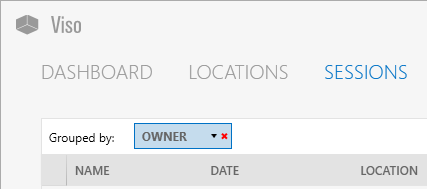
You can drag multiple column headers to the top of the table to make groups and subgroups of sessions.
Present sessions
aim
To present a session full screen on another screen, for example with a beamer or on a large monitor in a debriefing room.
prerequisites
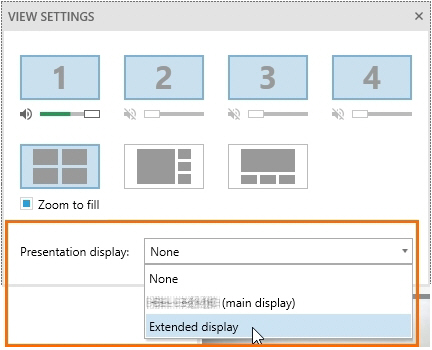
- You connected the Viso computer to a secondary display and selected this as extended display. To do so, press Windows key + P and select Extend.
- You either have rights to present the session (Technician, Administrator), you created the session (Trainer), you have received ownership or annotator rights or you are invited to view the session.
procedure
- Open a Session.
See Review sessions - If you have a Composite session, select the location to display.
See To open locations with the carousel control - Optionally, change the Video layout or Change Audio source and volume in preview
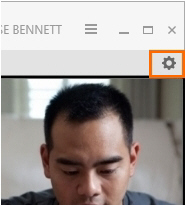
- Click the settings button on the toolbar to open the View Settings pane.

- Choose the display from the Presentation display list.
NOTE Markers and remarks that are scored with The Annotation Module are not shown on the second display. This way you can debrief the session while the audience cannot see your annotations. This is especially useful if the markers and remarks are confidential, or if you debrief a session with students and do not want them to see your annotations about them.
NOTE If you connect a display while Viso is open, close and restart the program. The new display is now visible in Viso.
Manage sessions
aim
To rename or delete sessions, change the annotator or the owner of a session, import videos, or export videos for external use.
prerequisites
- Technicians can manage sessions of all users. Administrators can manage sessions owned by users of their department. Trainers can manage their own sessions, sessions of which they received ownership and sessions for which they received annotator rights. Trainees can manage sessions of which they received ownership.
- You have opened the Sessions tab.
- Make sure the Recorder Manager is running during these actions.
Rename sessions
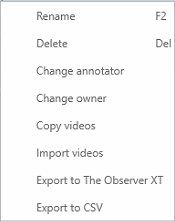
Right-click a session and select Rename.
Delete sessions
Right-click a session and select Delete. Please note that this also deletes all videos from a session.
Secure/unsecure sessions
Sessions will be auto deleted, by default after 90 days, if your colleague who maintains the Viso set-up selected this option in the settings. To retain a session, right-click it in the Sessions list and select Secure/unsecure. The Retention column in the Sessions list shows whether a session has been secured.
Change the annotator
In the session list under Annotator you can see who has been assigned the role of annotator. Right-click a session and select Change annotator to assign the right to annotate the session to another user. By default, the annotator is the person who recorded the session. This person can assign the role of annotator to a colleague or a student or reclaim the role of annotator.
Change the owner of a session
Session owners can manage sessions (delete and rename sessions, etc.). In the session list under Owner you can see who is the session owner. Right-click a session and select Change owner to give another user the right to manage the session. If you transfer the ownership of a session to, for instance, your colleague, he/she will automatically be assigned as the annotator of the session.
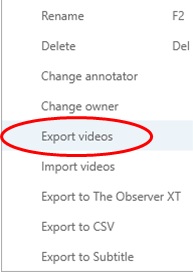
Export videos
- To export videos, for example, to use them in a presentation, right-click the session and select Export videos.

- Specify the destination folder where to export the videos.
- Choose if you want to export separate videos or combine all videos into one picture-by-picture video per location.

- Press Export.

Import videos
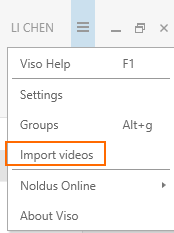
To import a video, right-click anywhere in the session list and select Import videos. Alternatively, click the Menu button at the top of the Viso windows and choose Import videos.
The selected videos will be added to a new session, and the files are copied to one of the available video locations used by Viso.
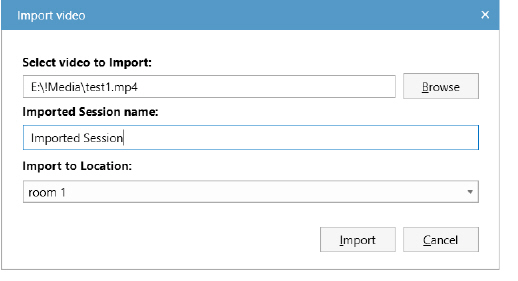
On the Import video dialog, the name of the videos to import, the newly created session name, and the Location needs to be specified. (Beforehand you need to define at least one Location to be able to import videos)
The imported session name by default will take the title of the first video, but it can be modified after the video selection.
The video files will be copied to one of the available video locations used by Viso. The preferred choice is the folder used for moving sessions to (a user with the user role Technician is able to set this up). Alternatively, the video folder of the Viso Recorder Manager can be used as a destination for the imported videos. There must be enough space on those file locations for the newly imported video files.
Up to 4 videos can be selected at once, which all will be added to the same new session. It is assumed that the videos are all created at the same time, they must have the same start date and time, a maximum of 5 second deviance is allowed. There is no separate synchronization option.
Currently it is not possible to create composite sessions through importing videos, or adding videos to existing sessions.
The imported videos must be .mp4 files or .mov files with H264 encoding and AAC audio. In the case of mov files they are converted to mp4 on import.
Creating H264 Videos on new Apple devices
Some newer Apple devices create MOV files using the HEVC (H265) format. This format is not recognised on Windows 10 and Windows 11 by default, and is not supported in Viso. You can set these devices to capture media using the older formats, which are more broadly compatible with other devices and operating systems:
- Go to Settings > Camera.
- Tap Formats.
- Tap Most Compatible. This setting is available only on devices that can capture media in HEIF or HEVC format, and only when using iOS 11 or later.
- All new photos and videos will now use JPEG or H.264 format. To return to using the space-saving HEIF and HEVC formats, choose High Efficiency.