# Annotation Module
With the Annotation Module, it is possible to mark events in your sessions. Besides the functionality of the [Base Module](https://bookstack.noldus.com/link/354#bkmrk-page-title), the Annotation Module has the following additional options:
- [Create Codes lists.](https://bookstack.noldus.com/link/708#bkmrk-create-codes-lists)
- [Annotate.](https://bookstack.noldus.com/link/708#bkmrk-annotate)
- [Enter Remarks.](https://bookstack.noldus.com/link/708#bkmrk-enter-a-remark)
- [Create Highlight videos](https://bookstack.noldus.com/link/708#bkmrk-create-highlight-vid)
## Create codes lists
Use subjects and markers to annotate your session. Subjects are the roles of the persons under study. Markers mark the start of an episode, for example the start of a test, or the moment your test participant makes an error in a usability test. Only define subjects if you observe multiple persons and want to annotate their individual behavior.
Subjects and markers are organized in Codes lists. A Codes list can contain maximally 36 subjects and 36 markers. To create a Codes list:
1. Open the **Codes** tab and click **New List**.
[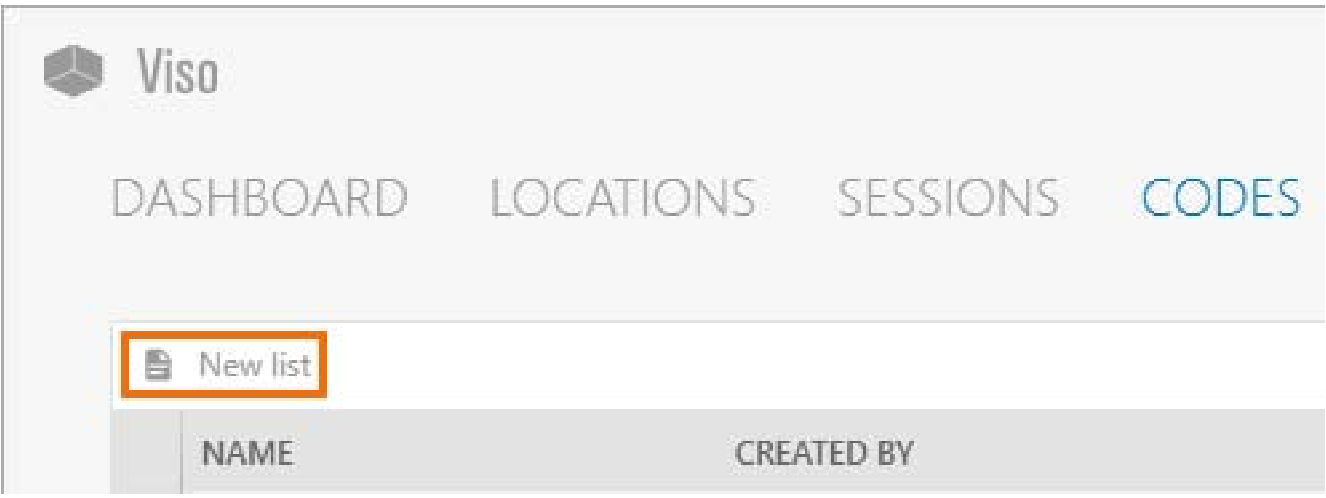](https://bookstack.noldus.com/uploads/images/gallery/2023-11/ZU3dpSu11SSLwrMW-image.png)
2\. Give the list a name and, optionally, a description.
3\. Optionally, define the subjects.
[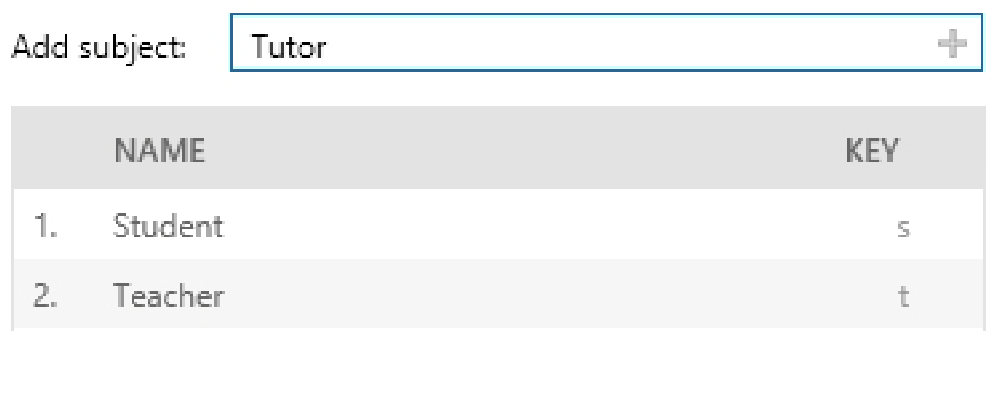](https://bookstack.noldus.com/uploads/images/gallery/2023-11/COXQ42eqWXhIv5Ab-image.png)
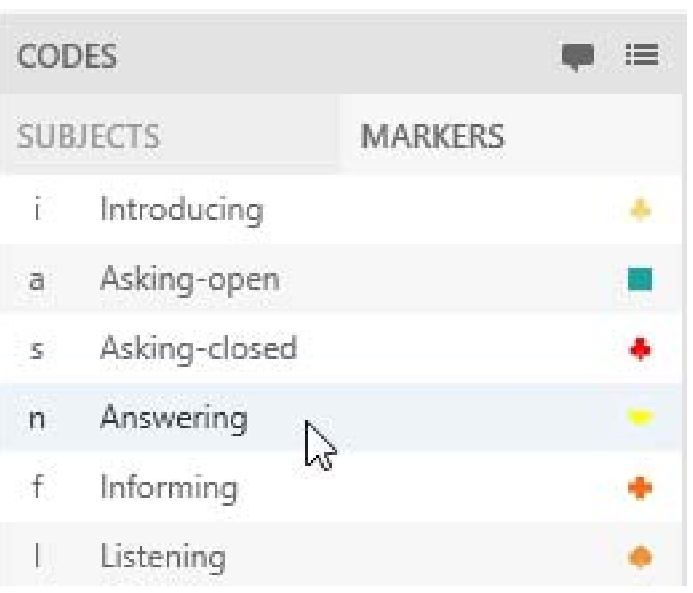
4\. Define the markers.
[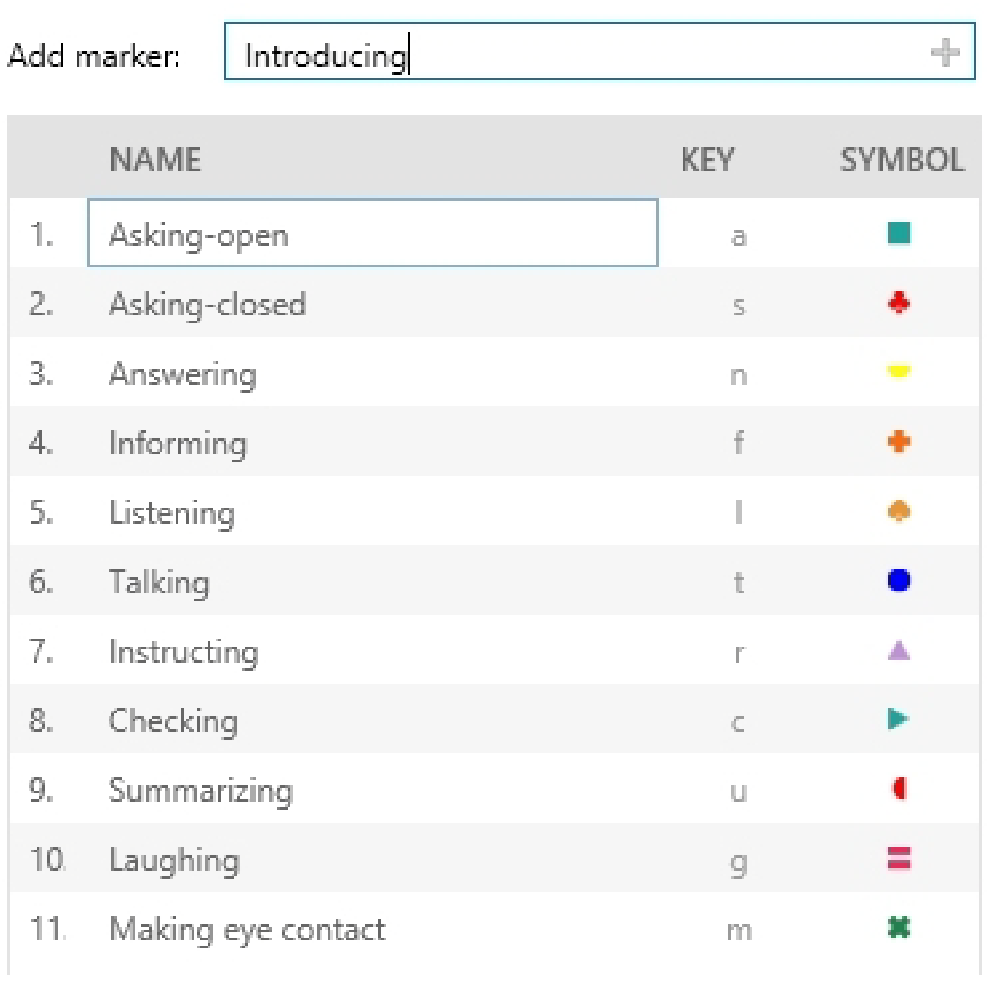](https://bookstack.noldus.com/uploads/images/gallery/2023-11/2JAGuXtEwbQVDXW8-image.png)
**NOTE** New markers automatically get a key code, shape and color. Within one list, a key code can only be used once. The key code is by default the first letter from the marker name that has not been used for other markers in the same list yet.
You can change the key code, shape and color manually.
## Annotate
1. To create a session, double-click a location.
2. To select a **Codes list**, click on the **Select Codes list** button. [](https://bookstack.noldus.com/uploads/images/gallery/2023-11/d0twcVgwEVM21uBU-image.png)
3. To start recording, click on the red button. [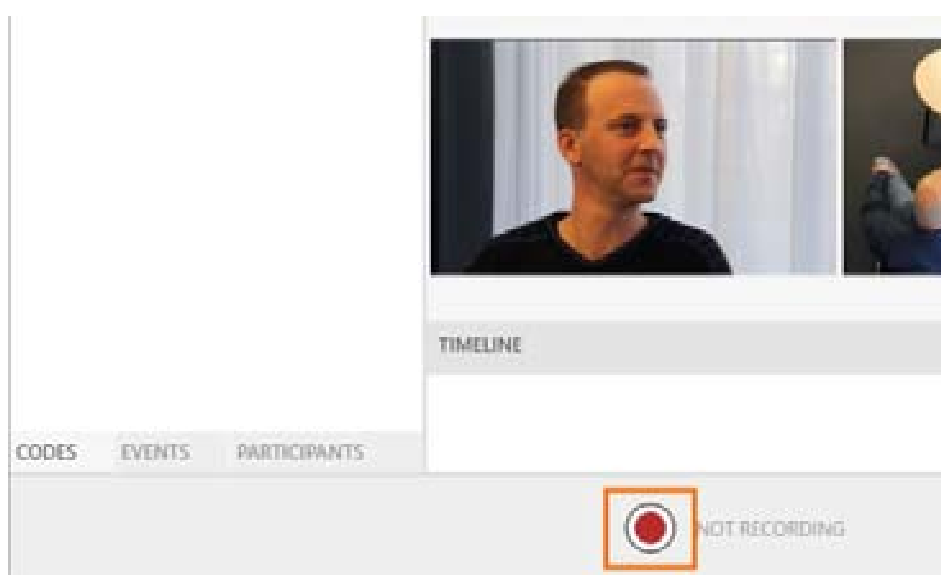](https://bookstack.noldus.com/uploads/images/gallery/2023-11/r6uz9Pnd9SDpvPo7-image.png)
4. To mark events, first press the key associated to a subject and then the key associated to the marker. Alternatively, click the **Subject** and **Marker** in the **Codes** window. It is also possible to score markers only. To do so, open the **Markers** tab in the **Codes** window and score the markers there.
[](https://bookstack.noldus.com/uploads/images/gallery/2023-11/Ngsfq5WcctjYAGB0-image.png)
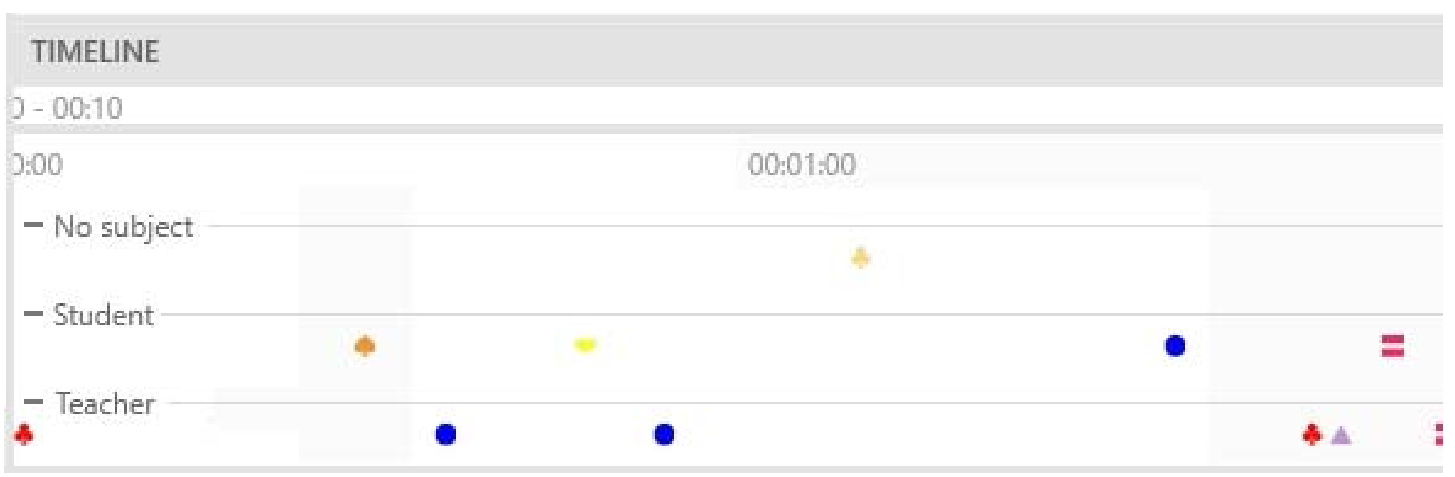
The events appear in the timeline at the bottom of your window. Markers scored without subjects appear in the row **No Subject** in the Timeline.
[](https://bookstack.noldus.com/uploads/images/gallery/2023-11/gI5tx52i9jbALvib-image.png)
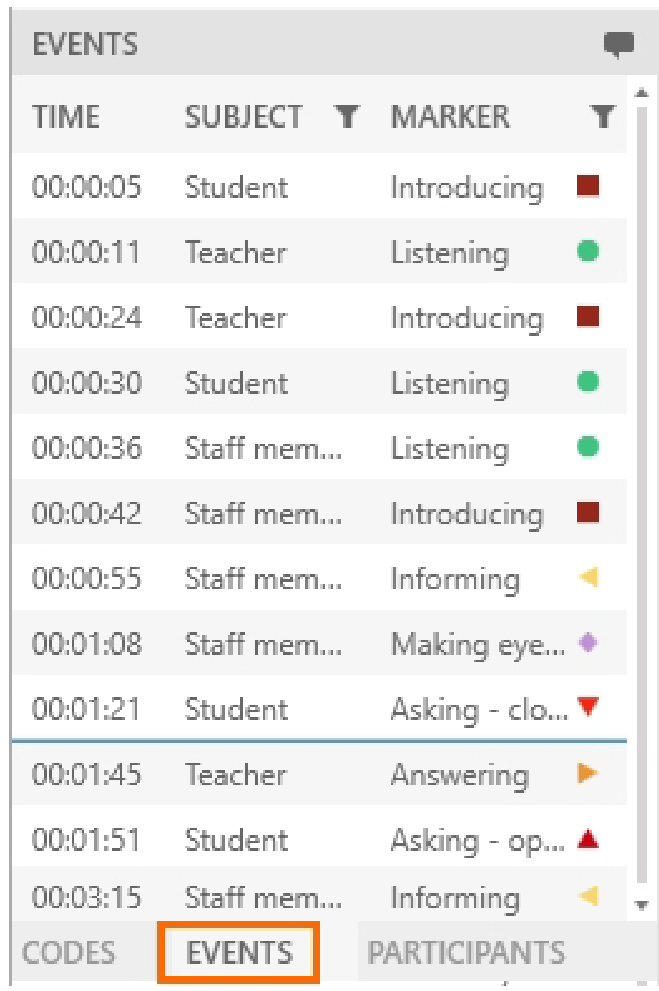
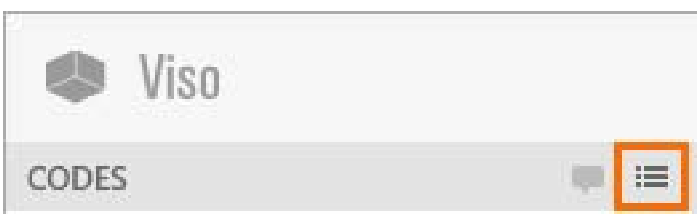
Open the **Events** tab to view or edit the codes.
[](https://bookstack.noldus.com/uploads/images/gallery/2023-11/7xp05s16t3Yw56YU-image.png)
### Notes
- To select another Codes list, open the **Codes** tab and click on the **Select codes list** button. Select the correct list. This is only possible if you did not score events yet in this session.
[](https://bookstack.noldus.com/uploads/images/gallery/2023-11/KnjqfZT8HFufomBz-image.png)
- It is also possible to score subjects and markers in a recorded session. To do so, open the **Sessions** tab and open the session. Open the **Codes** tab and click on the **Select codes list** button to select the Codes list. Play the session and annotate the session. When you already annotated during session recording, you can only score events from the same codes list.
- You cannot score subjects only.
- To jump to an event in the video, click on the scored event in the Event log or Timeline.
- Set a pre-roll interval to start playing a few seconds prior to the event. Click the **Menu** button, choose **Settings** and then **Quick Review interval**.
- To jump to the next event, click on the **Skip to next event** button or press **CTRL + Arrow right.**
[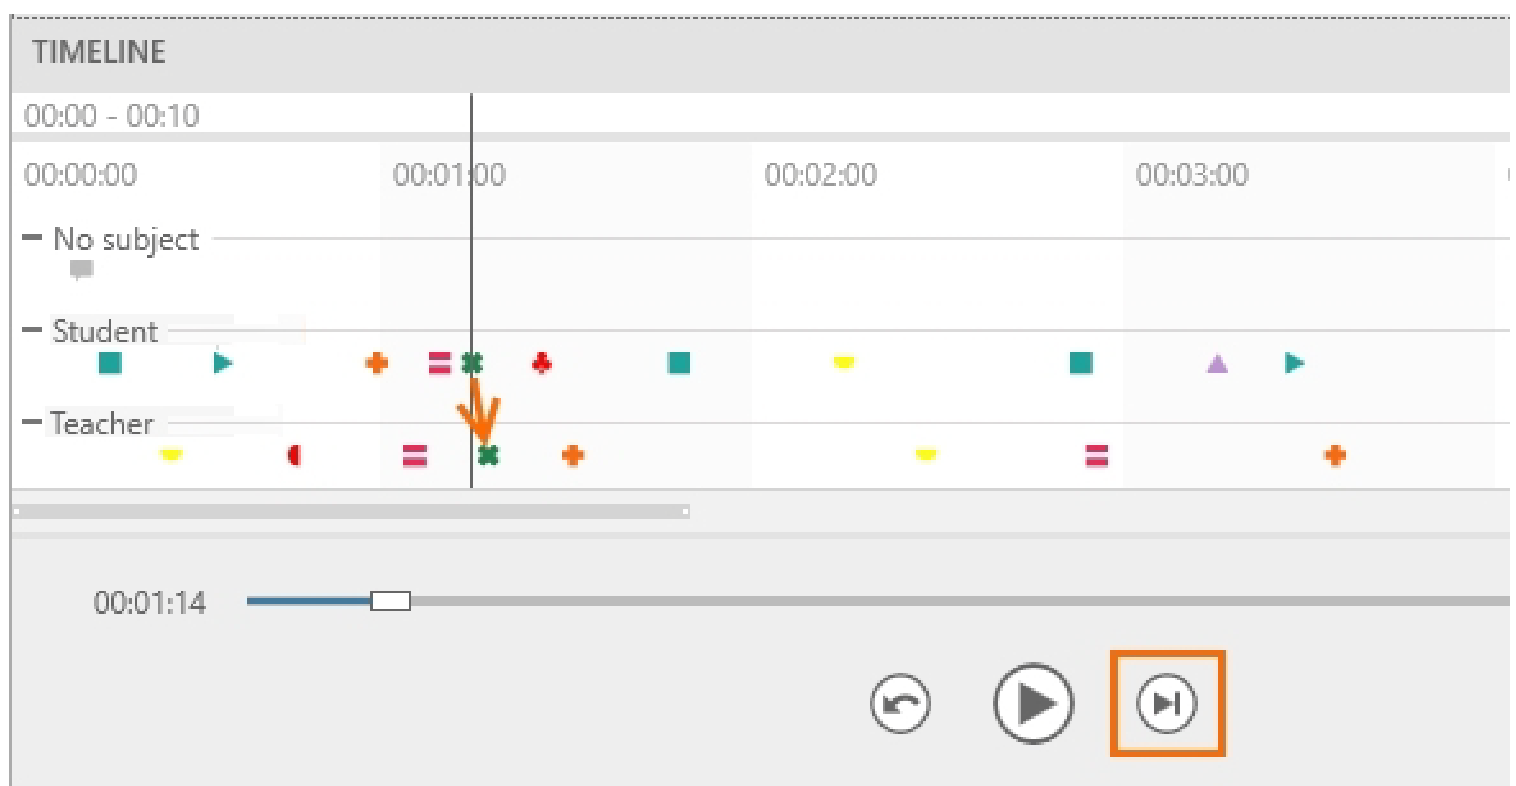](https://bookstack.noldus.com/uploads/images/gallery/2023-11/ZTCqJ8vNVeZIx0rk-image.png)
- To filter scored events, click on the **Filter** button next to Subject or **Marker** in the **Event log** window. Specify the filter. The filter is applied to the event log and the timeline.
- To save the scored events, press **Ctrl + S**. The scored events are also saved when you exit the session.
## Enter a remark
[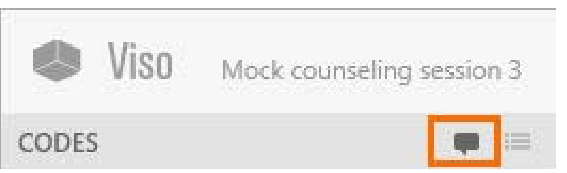](https://bookstack.noldus.com/uploads/images/gallery/2023-11/EoZ5o6sLaPtouXPs-image.png)
When something of interest happens during your session that you did not define in the Codes list, click this button, or press **Ctrl+R**. Enter free text as a remark.
[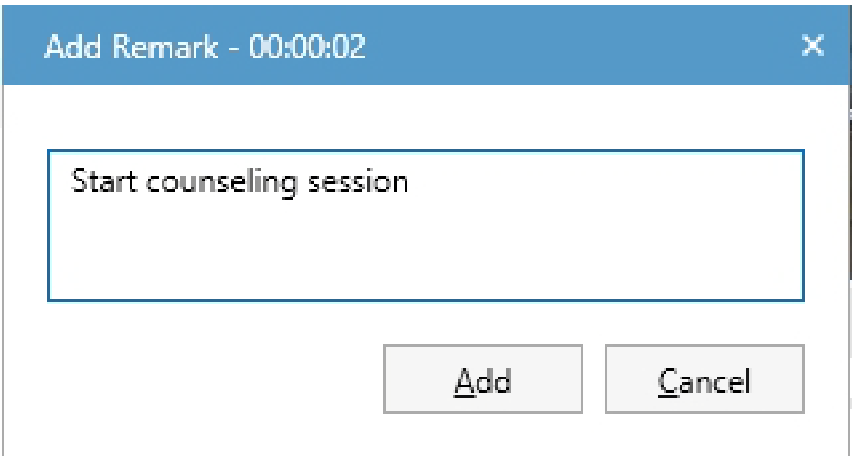](https://bookstack.noldus.com/uploads/images/gallery/2023-11/oInbCi76o7HsSGkV-image.png)
If the **Enter remark** button is not visible, open the **Codes** or **Events** tab at the bottom-left of your window.
## Create highlight videos
Select specific point events of interest within sessions and create highlight videos containing these. To create such a video:
1. Open a session from the dashboard
2. Right-click anywhere in the timeline or click on the **Export highlight video** button in the top right corner of the timeline.[](https://bookstack.noldus.com/uploads/images/gallery/2024-02/XViYBO1oKN3Mx8ym-export-hoghlight-video-button.jpg)
3. Select the point event(s) of the session you wish to include in your highlight video. For a single event, move the Time slider to or near to the particular point event of interest and select **For current time point**. If the point events of interest are associated with some or all of the markers you have specified in the Code list you used to annotate your session, select **For multiple markers**.
4. If you have opted for **For multiple markers**, a window appears where you can select the point event(s) you wish to highlight.[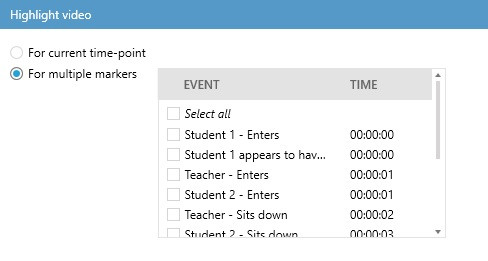](https://bookstack.noldus.com/uploads/images/gallery/2024-02/JeJ8D4ym88WJ20SE-quickstart-highlight1.jpg)
5. If you wish to merge all your highlighted point events into a single video, use the **Merge videos** at **Options**.
6. Whether you opted for current time point or multiple markers, the next step is to set the length of the section(s) including the selected point event(s) at **Highlight video duration**.
7. If you wish to add subtitles, check the **Add subtitles** box at **Options**.
8. At **Export to folder**, select the folder where you wish to save your Highlight video and if you hacve finished with all the settings, press **Export**. [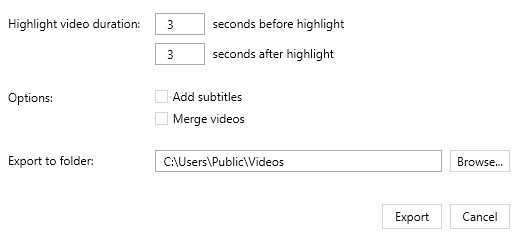](https://bookstack.noldus.com/uploads/images/gallery/2024-02/JEmrkUCKyPjXEHmk-quickstart-highlight2.jpg)