# Select devices that do not support ONVIF in MediaRecorder
## Aim
To select a device that does not support ONVIF Profile S in MediaRecorder.
If your device does support ONVIF, see [Select ONVIF cameras in MediaRecorder](https://bookstack.noldus.com/link/487#bkmrk-page-title) instead.
## Prerequisites
- Your device does not support ONVIF Profile S
- You followed the procedure in [Ethernet card setup](https://bookstack.noldus.com/link/478#bkmrk-page-title)
- You created comparable settings for you device as described in [Camera setup](https://bookstack.noldus.com/link/482#bkmrk-page-title)
- You installed MediaRecorder
See [Installation](https://bookstack.noldus.com/link/409#bkmrk-page-title)
- You connected your video device to the computer with MediaRecorder.
## Procedure
1. Open MediaRecorder and choose **File** > **Video settings** or click **Video settings**. [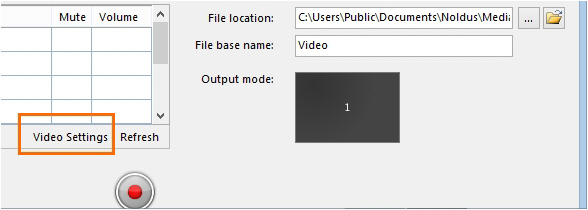](https://bookstack.noldus.com/uploads/images/gallery/2023-12/U0FbW0s49XUOgH8J-image.png)
2. Select the checkbox in front of the video channel and choose **RTSP IP Camera (Noldus RTSP Source Filter)**. [](https://bookstack.noldus.com/uploads/images/gallery/2023-12/52OFCbM7mX1oSVEV-image.png)
3. Click the **Advanced Video Settings** button. [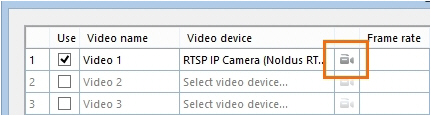](https://bookstack.noldus.com/uploads/images/gallery/2023-12/sTsySH1veCDop5VI-image.png)
4. A list with available ONVIF cameras in the network appears.
**IMPORTANT** If your device does not support ONVIF, it will not be on this list. Click **Cancel**. [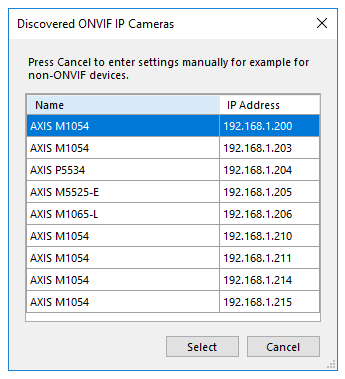](https://bookstack.noldus.com/uploads/images/gallery/2023-12/IhRanQ550BFgyZld-image.png)
5. Enter the **IP address**, **User name** and **Password** of the device. If you bought your device from Noldus IT, the **User name** is *root* and the **Password** is *Noldus*.
If the default Port 554 is already in use, ask your system administrator for help to select another one.
6. Click **Get device properties**. [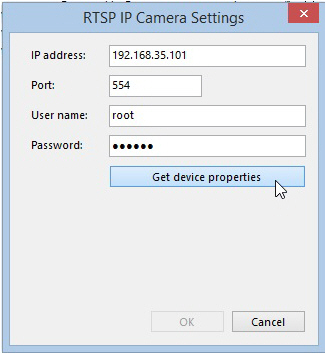](https://bookstack.noldus.com/uploads/images/gallery/2023-12/gPCwyExlG8vV939s-image.png)
7. The field **Connection string** appears. [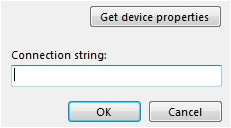](https://bookstack.noldus.com/uploads/images/gallery/2023-12/XZ5ESosMP12oLN5e-image.png)
8. Look up in the manual of your device where the video files can be accessed via the RTSP communication protocol. Enter the path from the slash after the connection information in the Connection string field. For example,
/stream.sdp for an Epiphan Pearl Nano screen capture device/. [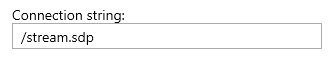](https://bookstack.noldus.com/uploads/images/gallery/2023-12/um2NU1OJ836U30ye-image.png)
9. Click **OK**. Optionally, select another frame rate or resolution. However, make sure you select the same frame rate as is selected in the device itself when you opened the camera in a browser (see the next step).
10. Optionally, open the camera in a browser to pan, tilt, or zoom.
See [Access camera settings](https://bookstack.noldus.com/link/485#bkmrk-access-camera-settin-1)
**IMPORTANT** Close the browser before starting recording with MediaRecorder.
1. Click OK and continue with [Record video](https://bookstack.noldus.com/link/439#bkmrk-page-title)