# Set up MediaRecorder
## up and running quickly
This Quick Start Guide guides you through the main steps to record video with MediaRecorder. This Quick Start Guide contains basic information on MediaRecorderfunctionalities. It does not contain information how to connect and setup your cameras. Also, it does not contain information on the prerequisites and restrictions for specific camera types. You can find this additional information in the MediaRecorder Help. Press F1 in the program to open it, or type MediaRecorder Help in the Windows apps screen.
## start mediarecorder
1. Connect all cameras and microphones to the computer with MediaRecorder.
2. Depending on your license, do one of the following:
- If you have a hardware key - Insert it into a USB port of the computer and start MediaRecorder.
- Start MediaRecorder and activate your software license key. You can choose between a Floating or a Fixed activation.
- **Floating** — Choose Floating if you want to be flexible on which computer you use MediaRecorder and your computer is connected to the internet.
- **Fixed** — A Fixed activation is linked to one computer. Your computer must have an internet connection to activate/deactivate a fixed license. After you have activated the license you can use MediaRecorder without internet.
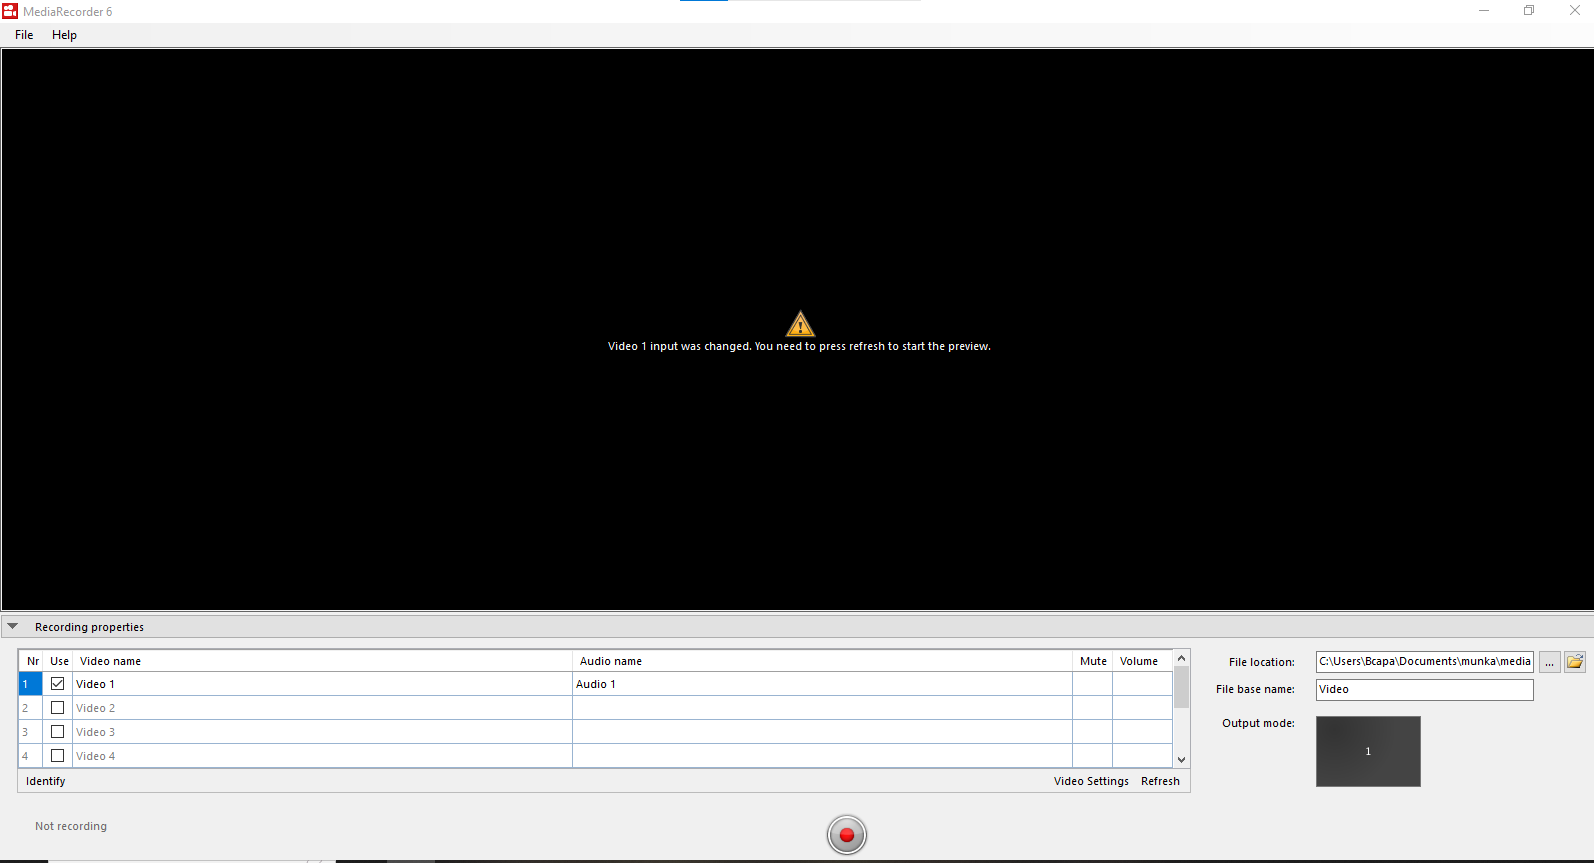
The first time MediaRecorder opens, the preview window is black. That is because you still have to select the cameras. Proceed with the next steps to do so.
[](https://bookstack.noldus.com/uploads/images/gallery/2023-12/66CDwDm4N01XG45d-media-recorder-6-5-first-screen.png)
##
select cameras
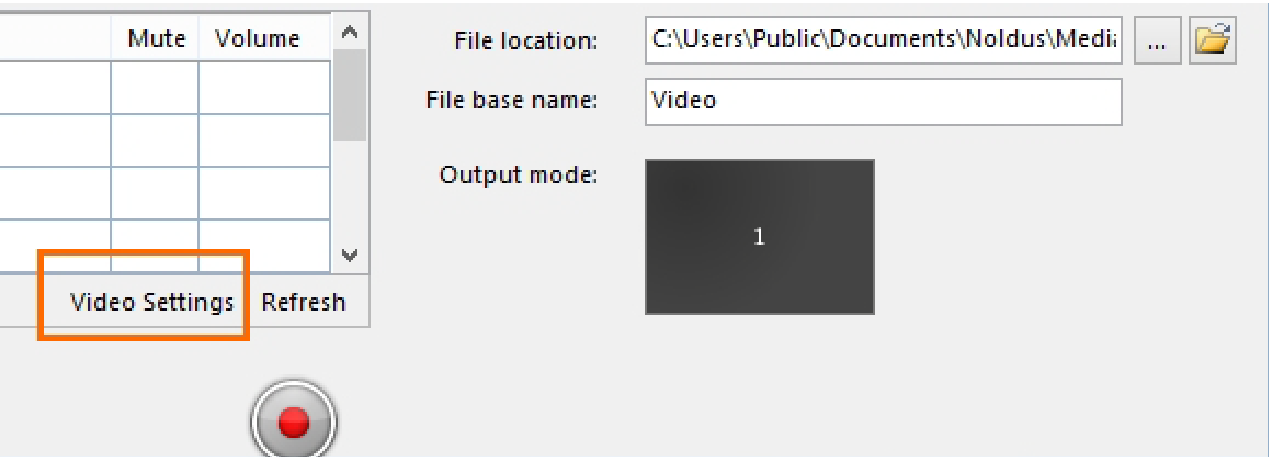
1. Choose **File > Video Settings**, or click **Video Settings** in the main window.
[](https://bookstack.noldus.com/uploads/images/gallery/2023-11/57ZblYDKVdEB0uJs-image.png)
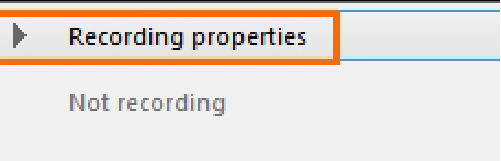
**TIP** If the **Video Settings** button is not visible, the recording properties may be closed. Click **Recording properties** at the bottom of your window.
[](https://bookstack.noldus.com/uploads/images/gallery/2023-11/qrttTc8OAxFl0KWR-image.png)
2. Select your camera from the **Video device** list.[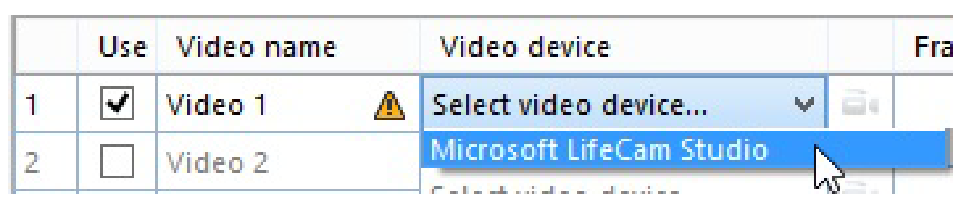](https://bookstack.noldus.com/uploads/images/gallery/2023-11/97neZ3eE4trIlb60-image.png)
See [Set up IP cameras in the MediaRecorder ](https://bookstack.noldus.com/link/476#bkmrk-page-title)Help how to select IP cameras.
3. Select the frame rate and resolution. [](https://bookstack.noldus.com/uploads/images/gallery/2023-11/1gNEpEubWXrC2X17-image.png)
4. For advanced camera settings, click the video symbol next to the name of your camera.
The available options depend on your camera. For some cameras you can zoom and adjust settings for brightness and contrast. [](https://bookstack.noldus.com/uploads/images/gallery/2023-11/raNHgWPTb3Cmffi0-image.png)
5. Optionally change the names in the **Video name** column, to, for example, Overview camera, or Close-up participant 1.
6. To record audio as well, continue with [select microphones](https://bookstack.noldus.com/link/363#bkmrk-select-microphones).
7. Optionally, select some additional settings for your video files. See [Options](https://bookstack.noldus.com/link/364#bkmrk-page-title).
8. When satisfied with the settings, click **OK** to leave the **Video Settings** window and start recording. See [Record video](https://bookstack.noldus.com/link/365#bkmrk-page-title).
## select microphones
1. Select the microphones from the **Audio device** list. Choose between your computer microphone, a separate microphone, or the audio stream of your camera. Choose **No audio** to not record audio. [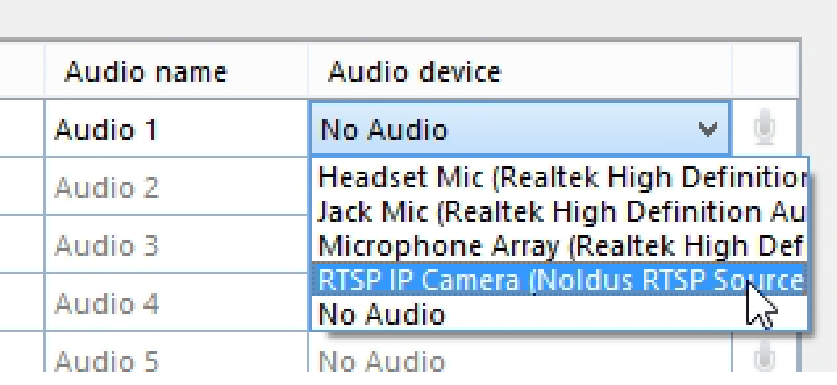](https://bookstack.noldus.com/uploads/images/gallery/2023-11/VnRS1FecUaajF8sK-image.png)
2. Optionally, record the same audio stream in all videos. To do so, select this checkbox. (Please note that in Picture-in-Picture mode, you may select which audio source to use for all the videos. See [Select an audio device](https://bookstack.noldus.com/link/422#bkmrk-page-title)).
[](https://bookstack.noldus.com/uploads/images/gallery/2023-11/iev5pC7QTrBpYLhW-image.png)
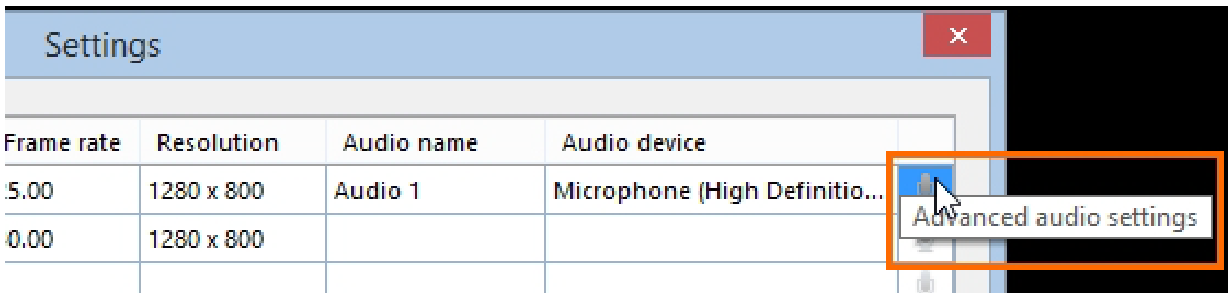
3. Optionally, click the microphone button for advanced audio settings.
[](https://bookstack.noldus.com/uploads/images/gallery/2023-11/5oCF2IHNlv54BA2D-image.png)
The available options depend on your microphones. Move the sliders to adjust the recording volume.
4. Optionally, change the names in the **Audio name** column.
### To check the recording volume
1. Right-click the speaker icon in the bottom-right corner of your window and select **Recording devices**. [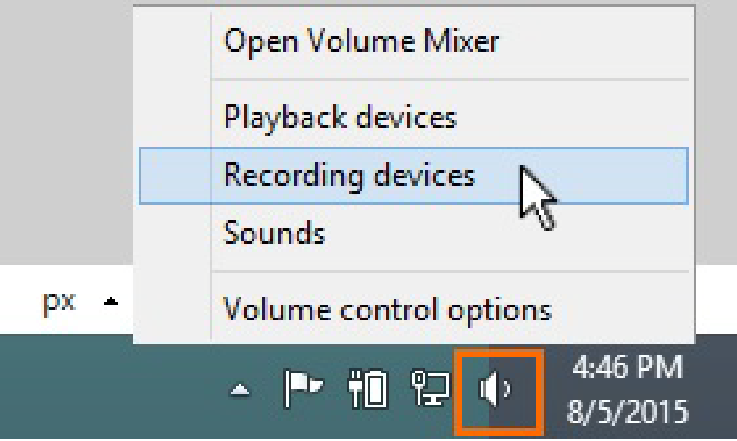](https://bookstack.noldus.com/uploads/images/gallery/2023-11/4aNXuyy6Aa8tMZB7-image.png)
2. Check that the green bar is maximal when speech level is normal. [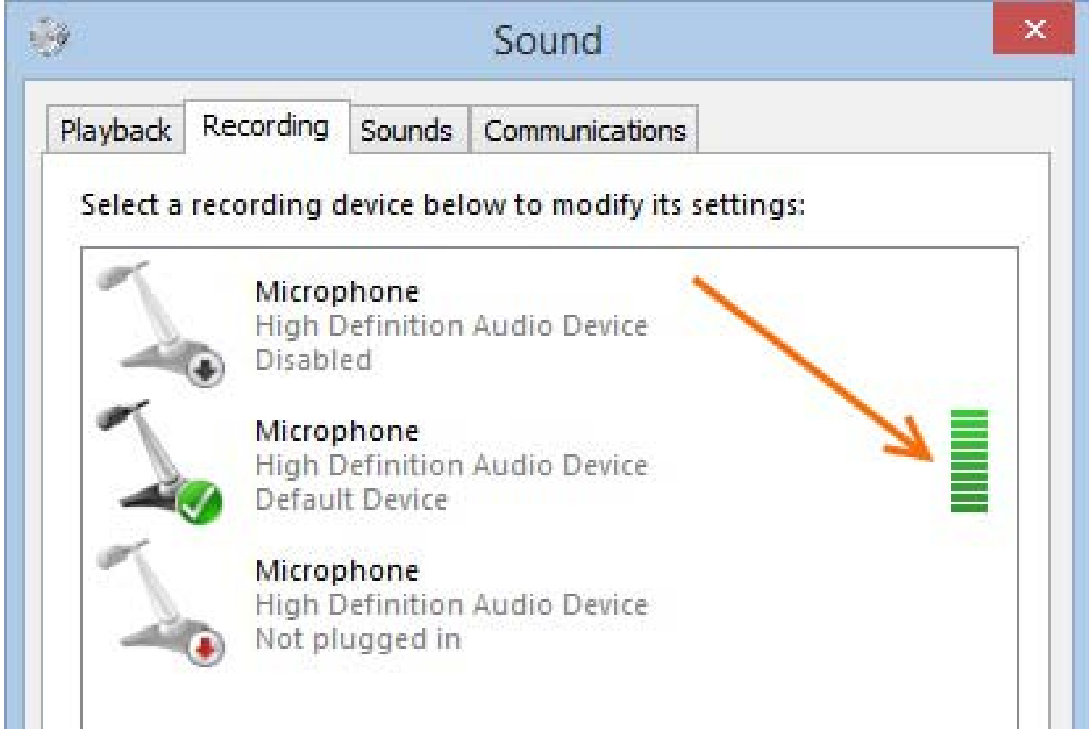](https://bookstack.noldus.com/uploads/images/gallery/2023-11/YnbIQ2OQ6cKAWSdl-image.png)
3. Continue with [Options](https://bookstack.noldus.com/link/364#bkmrk-page-title), or click **OK** to close the Video Settings window and [start recording](https://bookstack.noldus.com/link/365#bkmrk-page-title).
Note
Audio is needed and has been tested only for cameras that are supported with The Observer XT. See **Recording Devices** in the MediaRecorder Help which cameras are.