MediaRecorder 6.5 - Quick Start Guide
- Welcome to MediaRecorder
- Install MediaRecorder
- Set up MediaRecorder
- Options
- Record video
- For more information
Welcome to MediaRecorder
MediaRecorder 6.5
Information in this document is subject to change without notice and does not represent a commitment on behalf of Noldus Information Technology bv. The software described in this document is furnished under a license agreement. The software may be used or copied only in accordance with the terms of the agreement.
Copyright © 2023 Noldus Information Technology bv. All rights reserved. No part of this publication may be reproduced, transmitted, transcribed, stored in a retrieval system, or translated into any other language in whole or in part, in any form or by any means, without the written permission of Noldus Information Technology bv.
MediaRecorder is a product of Noldus Information Technology bv. Other product names are trademarks or registered trademarks of their respective companies.
Documentation: Olga Krips, Viktor Kovacs, Leanne Loijens
December 2023
Noldus Information Technology bv.
International headquarters
Wageningen, The Netherlands
Telephone: +31-317-473300
Fax: +31-317-424496
E-mail: info@noldus.nl
For addresses of our other offices and support, please see our website
www.noldus.com
Install MediaRecorder
IMPORTANT - If you have an older version of MediaRecorder - Uninstall MediaRecorder 6.0 and older versions before you install MediaRecorder 6.5.
To install MediaRecorder 6.5
- Download the installation files from my.noldus.com, and extract the contents.
- Double-click the file MediaRecorder [Version number] Setup.exe.
- Under Installation type, select Standard.
- In the Drivers and tools field, choose the driver of your video device.
- Click Next, accept the End-User License Agreement and click Install.
Notes
- See Specifications for the supported devices.
- See Recording Devices for specific information on your device like the maximum number of cameras you can use simultaneously and the maximum supported frame rate and resolution.
Set up MediaRecorder
up and running quickly
This Quick Start Guide guides you through the main steps to record video with MediaRecorder. This Quick Start Guide contains basic information on MediaRecorderfunctionalities. It does not contain information how to connect and setup your cameras. Also, it does not contain information on the prerequisites and restrictions for specific camera types. You can find this additional information in the MediaRecorder Help. Press F1 in the program to open it, or type MediaRecorder Help in the Windows apps screen.
start mediarecorder
- Connect all cameras and microphones to the computer with MediaRecorder.
- Depending on your license, do one of the following:
- If you have a hardware key - Insert it into a USB port of the computer and start MediaRecorder.
- Start MediaRecorder and activate your software license key. You can choose between a Floating or a Fixed activation.
- Floating — Choose Floating if you want to be flexible on which computer you use MediaRecorder and your computer is connected to the internet.
- Fixed — A Fixed activation is linked to one computer. Your computer must have an internet connection to activate/deactivate a fixed license. After you have activated the license you can use MediaRecorder without internet.
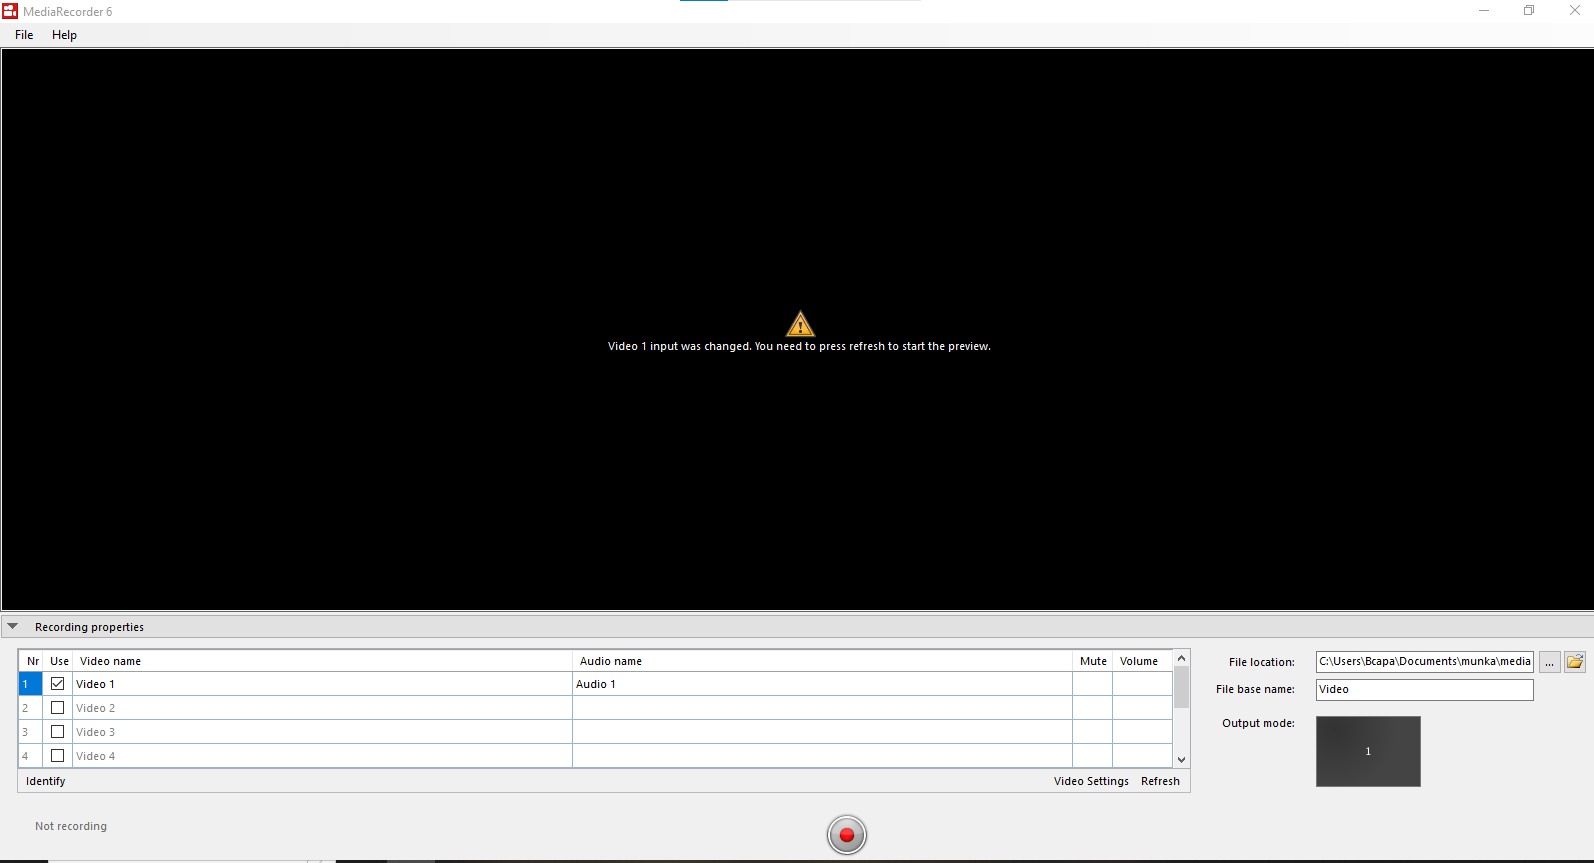
The first time MediaRecorder opens, the preview window is black. That is because you still have to select the cameras. Proceed with the next steps to do so.
select cameras
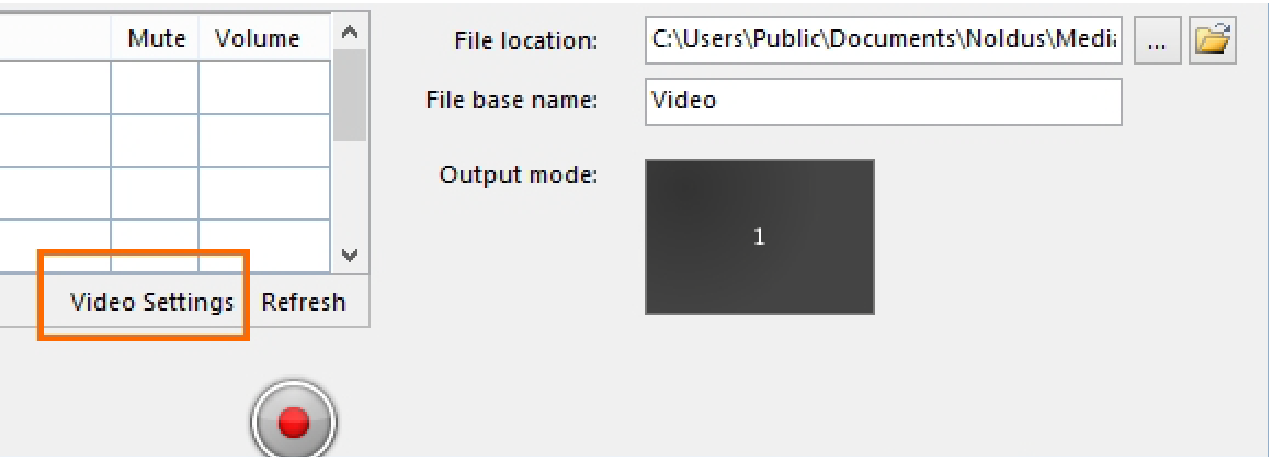
- Choose File > Video Settings, or click Video Settings in the main window.

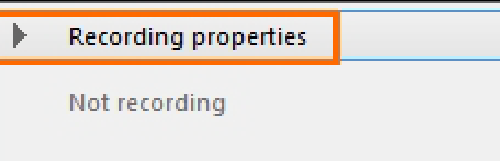
TIP If the Video Settings button is not visible, the recording properties may be closed. Click Recording properties at the bottom of your window.
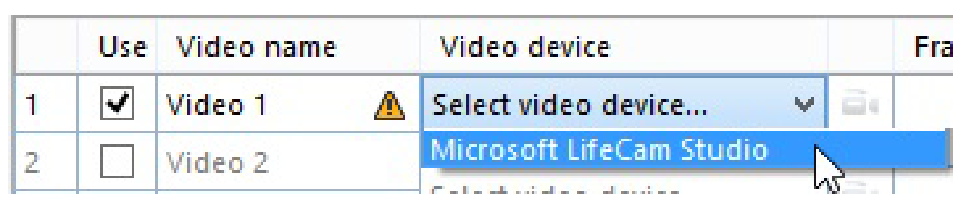
- Select your camera from the Video device list.

See Set up IP cameras in the MediaRecorder Help how to select IP cameras. - Select the frame rate and resolution.

- For advanced camera settings, click the video symbol next to the name of your camera.
The available options depend on your camera. For some cameras you can zoom and adjust settings for brightness and contrast.
- Optionally change the names in the Video name column, to, for example, Overview camera, or Close-up participant 1.
- To record audio as well, continue with select microphones.
- Optionally, select some additional settings for your video files. See Options.
- When satisfied with the settings, click OK to leave the Video Settings window and start recording. See Record video.


select microphones
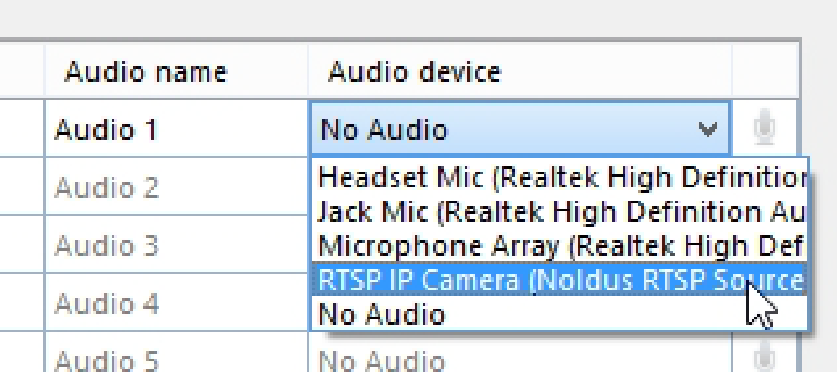
- Select the microphones from the Audio device list. Choose between your computer microphone, a separate microphone, or the audio stream of your camera. Choose No audio to not record audio.

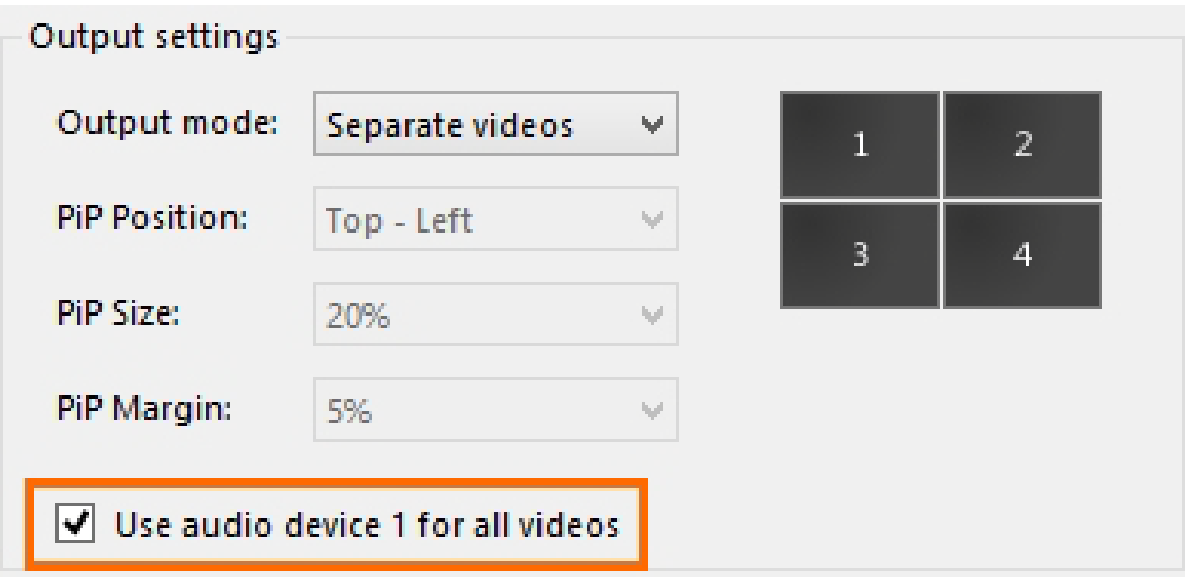
- Optionally, record the same audio stream in all videos. To do so, select this checkbox. (Please note that in Picture-in-Picture mode, you may select which audio source to use for all the videos. See Select an audio device).

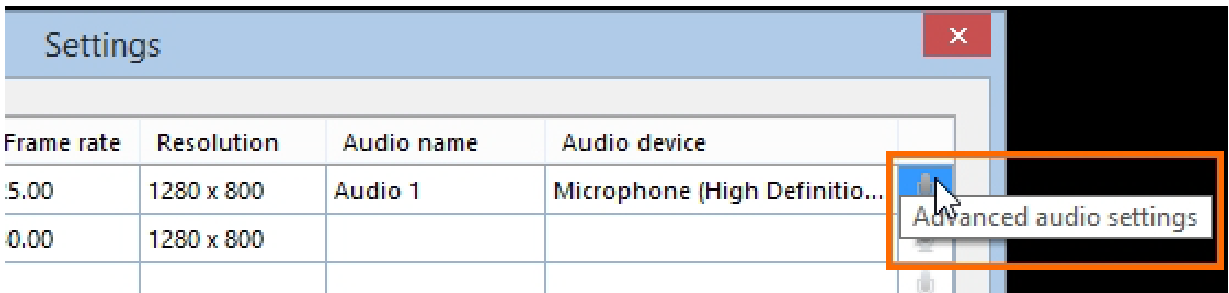
- Optionally, click the microphone button for advanced audio settings.

The available options depend on your microphones. Move the sliders to adjust the recording volume. - Optionally, change the names in the Audio name column.
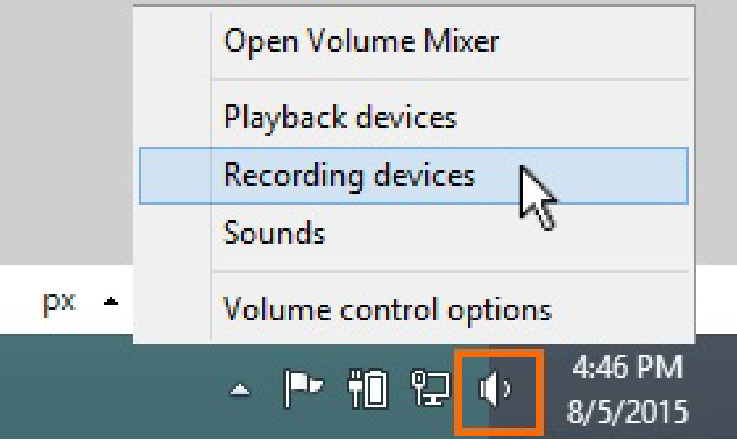
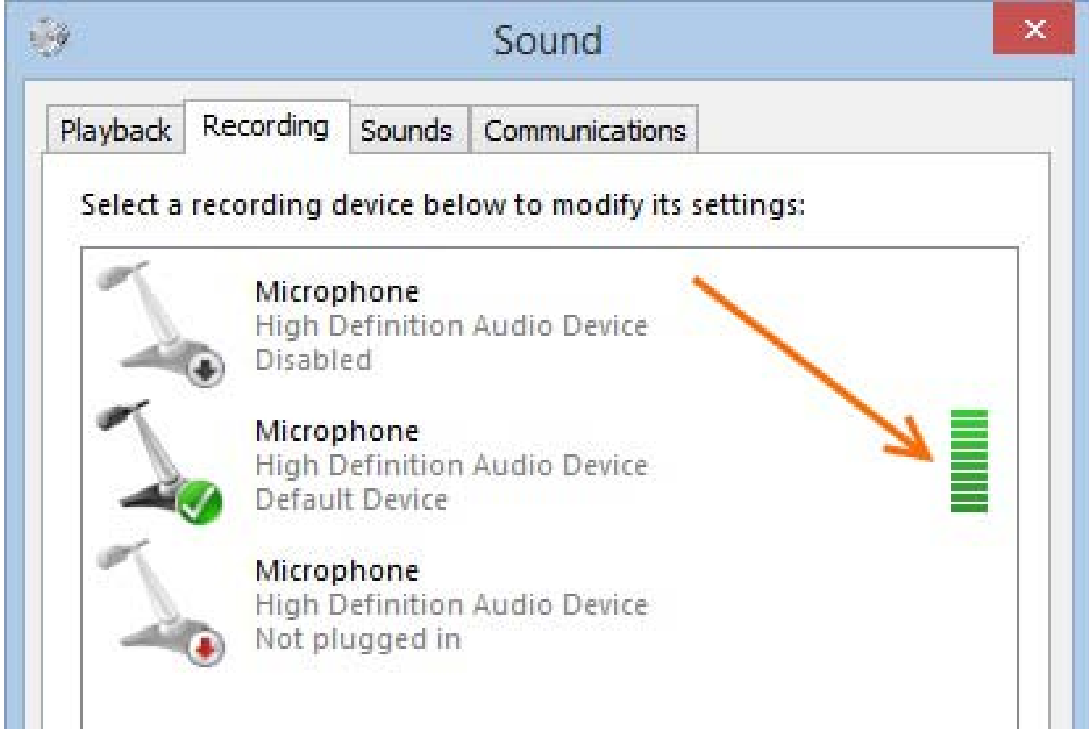
To check the recording volume
- Right-click the speaker icon in the bottom-right corner of your window and select Recording devices.

- Check that the green bar is maximal when speech level is normal.

- Continue with Options, or click OK to close the Video Settings window and start recording.
Note
Audio is needed and has been tested only for cameras that are supported with The Observer XT. See Recording Devices in the MediaRecorder Help which cameras are.
Options
For a full overview of the options, see the MediaRecorder Help.
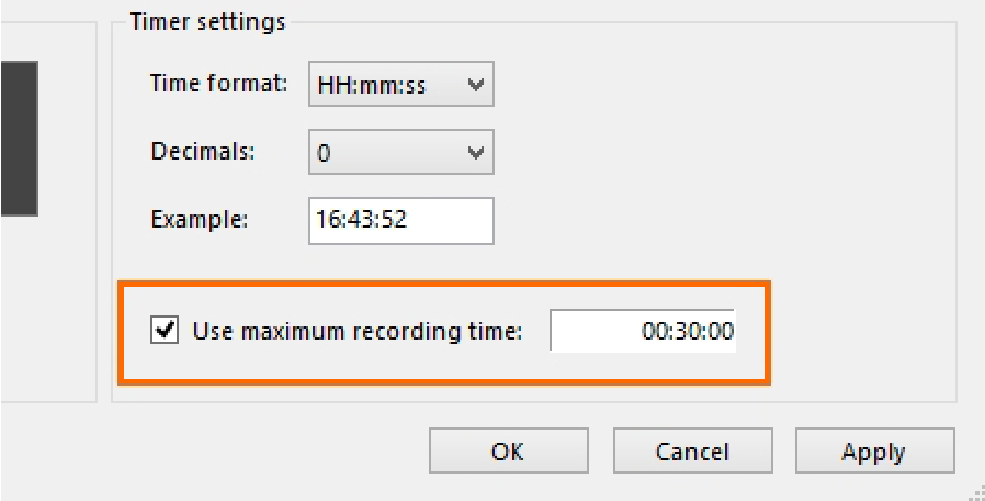
set a recording time
- Choose File > Video Settings.
- Select Use maximum recording time and enter the time.

select output settings for multiple cameras
If you have selected more than one video source, MediaRecorder can create a separate video file for each camera, but also one video of all camera streams. Choose File > Video Settings and select one of the options under Output Settings. The following options are available:
- Separate videos — One video file for each camera.
- Picture by Picture — One video file with the images from each camera next or above each other.

-
Picture in Picture — One video file with a large image of the first camera with the images from the other cameras embedded in it.


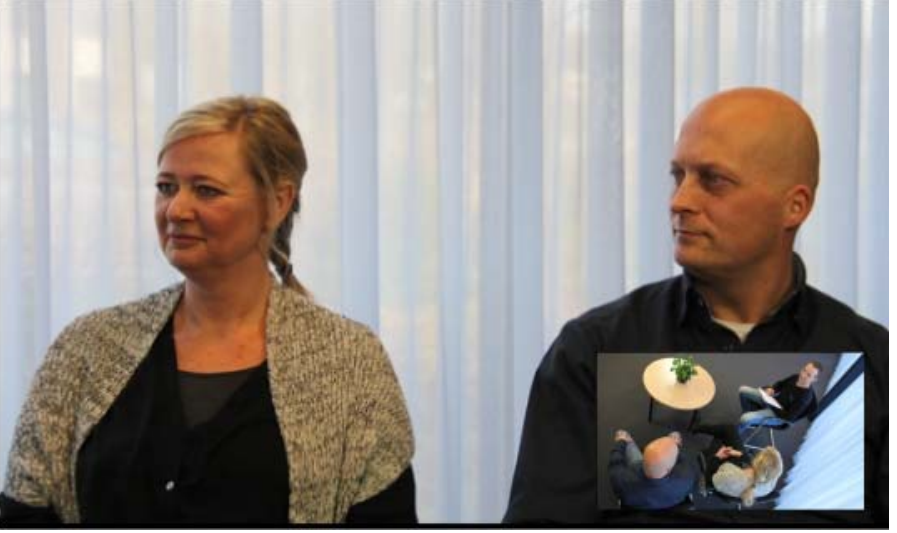
If you select this option the following settings become available:
- PiP Position — The position of the embedded images.
- Pip Size — The size of the embedded images. The percentage is based on the width of the first camera image. The aspect ratios of the embedded camera images are maintained.
- Pip Margin — The margin of the embedded images. When the percentage is zero, the embedded images are positioned directly on the edge of the main image. The percentage is based on the width of the first camera image.
Note
If possible, choose the same frame rate for all the videos for Picture in Picture or Picture by Picture. If you choose different frame rates the videos with the lowest frame rates may flicker.
manage video files
To select the video file location
The default location where MediaRecorder stores its video files is:
- D:\Noldus\MediaRecorder\Video Files — If Noldus IT installed your system
- C:\Users\Public\Public Documents\Noldus\MediaRecorder\Video Files — In all other cases.
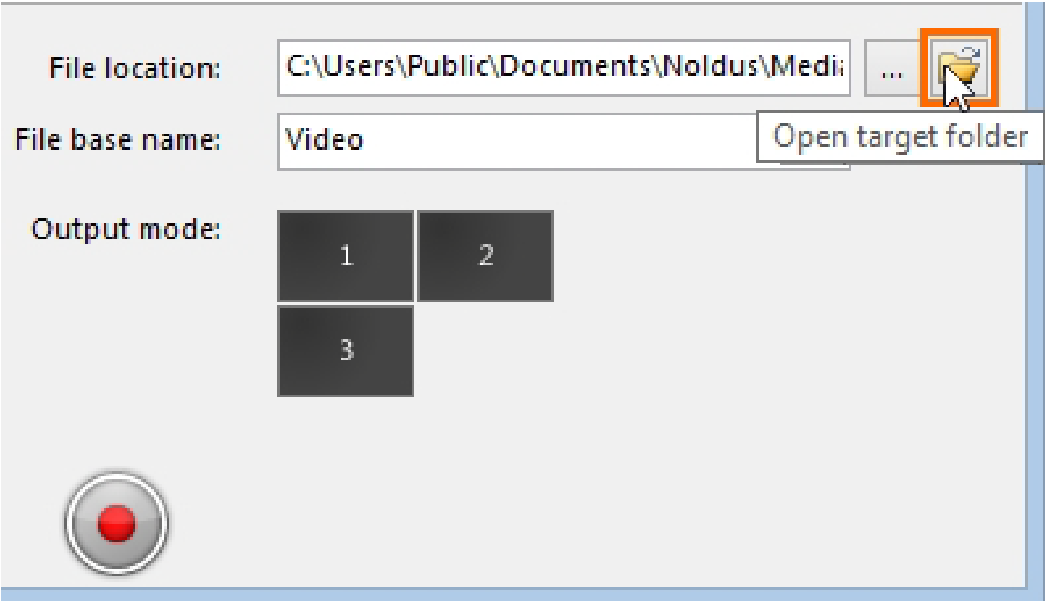
To change the default location, click the button next to the File location field of the main MediaRecorder window and select another folder.

You must have writing rights in this folder. Also make sure that there is enough disc space. Dependent on the recording device, frame rate, resolution and amount of movement, MediaRecorder videos can be up to 600 Mb per hour.
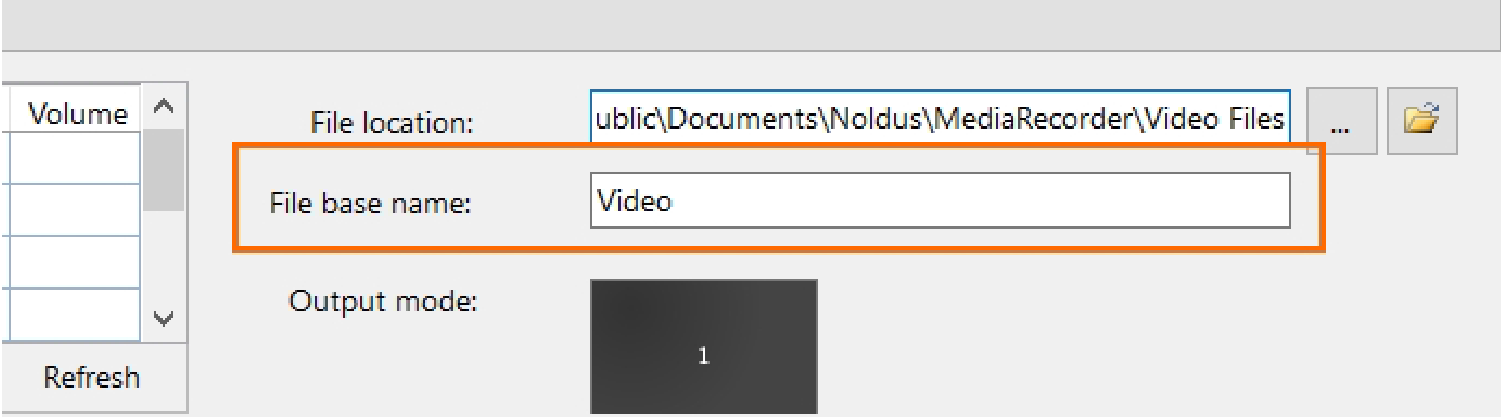
To select a file base name
The name of the recorded video file consists of the File base name followed by:
- The video input name.
- The date and the time the videos were recorded. The format of the date and time depends on the computer’s regional settings.
- The number of the video camera.
save the settings
The settings you create for the different cameras are automatically saved when you close MediaRecorder. They are saved to the file Current settings.mrs that is present in the folder C:\Users\Public\Public Documents\Noldus\MediaRecorder. These settings are used when you restart MediaRecorder. But you can also save your own settings, or save different settings for different setups, for example, a webcam for a test participant’s face in a usability test room and three overview IP cameras in an observation room. This way you do not have to select all cameras manually each time.
Procedure
- Choose File > Save Configuration As.
- Give the configuration a name and click Save.
To open a saved configuration
Choose File > Open configuration and select a .mrs file.
Notes
- important Never shut down the computer by pressing the power button or cutting off the electricity. Always use the Windows shut down feature to close your computer.
- To go back to the default configuration, choose File > Open Configuration. Open the file Default Settings.mrs.
Record video
When you selected all cameras, you see a preview in the main MediaRecorder window.
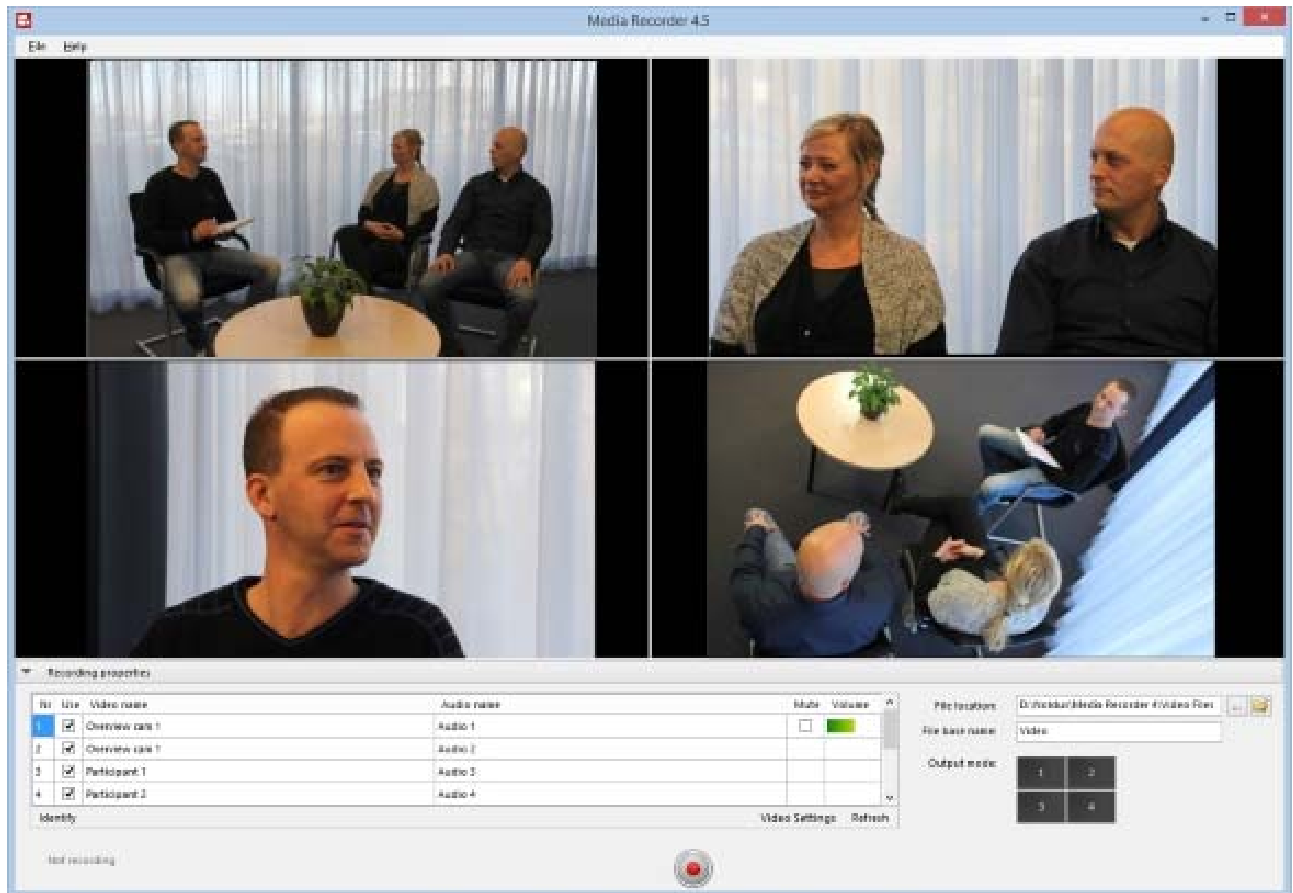
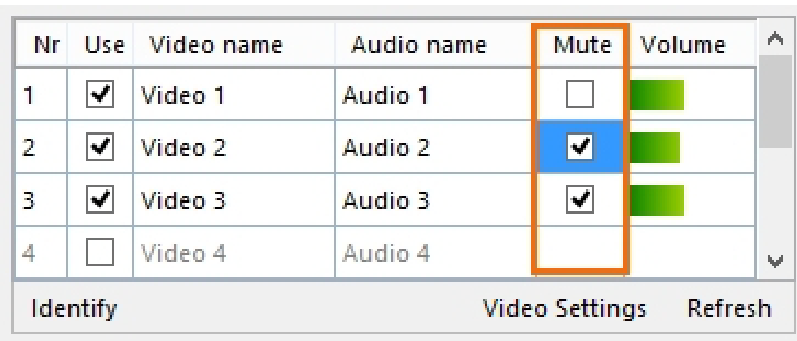
TIP If you selected multiple microphones, it can be useful to mute all but one audio channel in the preview. Select the audio source in the Mute column of the table under the preview. Muting audio in the preview does not influence the recording.
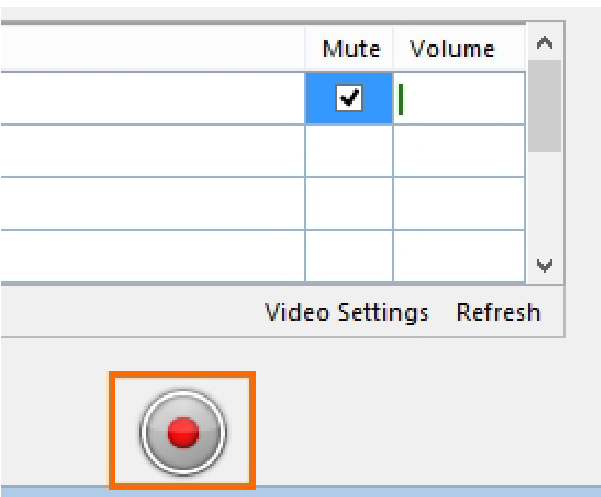
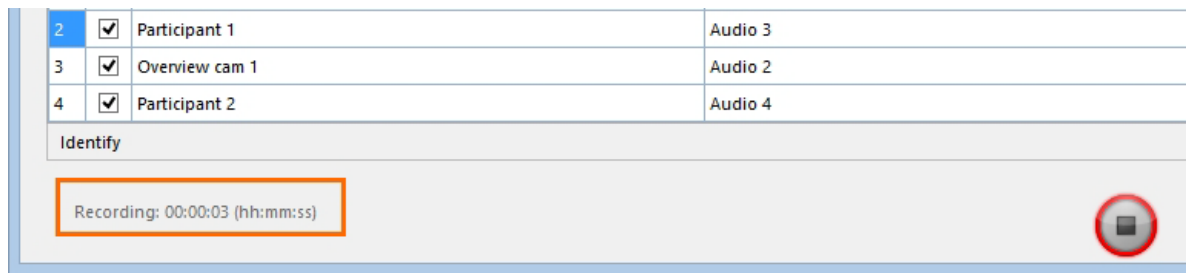
To start recording, press the Start recording button.
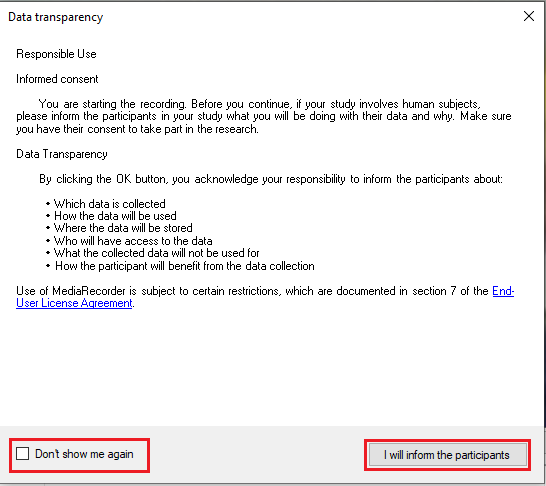
A pop-up window will appear, informing you about Noldus's Data Transparency Policy. Read it carefully before clicking the I will inform the participants button. You can also check the box Don't show me again to prevent further occurrence.
how to access the recorded videos
To quickly access the recorded videos, press the Open target folder button in the main MediaRecorder window.
The video files are stored in the default video file location, or the location you specified. See To select the video file location.
For more information
mediarecorder help
The MediaRecorder Help opens when you press F1 in the program. It can also be accessed in the Windows apps screen, and can be downloaded from the MyNoldus portal. From the Help menu select Noldus Online and then MyNoldus portal.
training courses
Noldus offers training courses to help you get the most out of our software/hardware. In addition to on-site courses at your lab and in-house courses at our headquarters in Wageningen (The Netherlands) and Leesburg (VA, USA), we offer remote training courses.
Remote trainings are available in the same range of languages as on-site courses. Please contact your sales representative for more information about trainings.
support
If you encounter problems, contact Noldus Technical Support, from the Help menu select Noldus Online and then MyNoldus portal and submit a support case or find a helpdesk in your region.